 Credit: Rob Schultz / IDG
For a short while, PC building was gloriously affordable. The cost of graphics cards and RAM finally dropped after 2018’s dark times, AMD kept cramming more cores into its CPU lineup without increasing prices, and SSDs could be had for a song.
Nowadays building a basic x86 PC is pretty expensive. Overwhelming demand, tighter supply, and tariffs mean that, compared to last year, you’ll spend $10 more here and $15 more there across the board—even as much as $40 more on a power supply. It adds up to a steep increase for those who only browse the web, watch streaming videos, edit documents, and/or code.
Fortunately, you can sidestep that financial outlay with an alternative: the humble but mighty Raspberry Pi 4. This fourth-generation version of the popular single-card computer starts at just $35 and packs enough punch to easily handle everyday tasks. Moreover, its simplicity means building is ultra fast. We put together a Linux-based desktop system for just over $100 and in about an hour, including software installs.
Parts list
Current street prices listed in parenthesis.
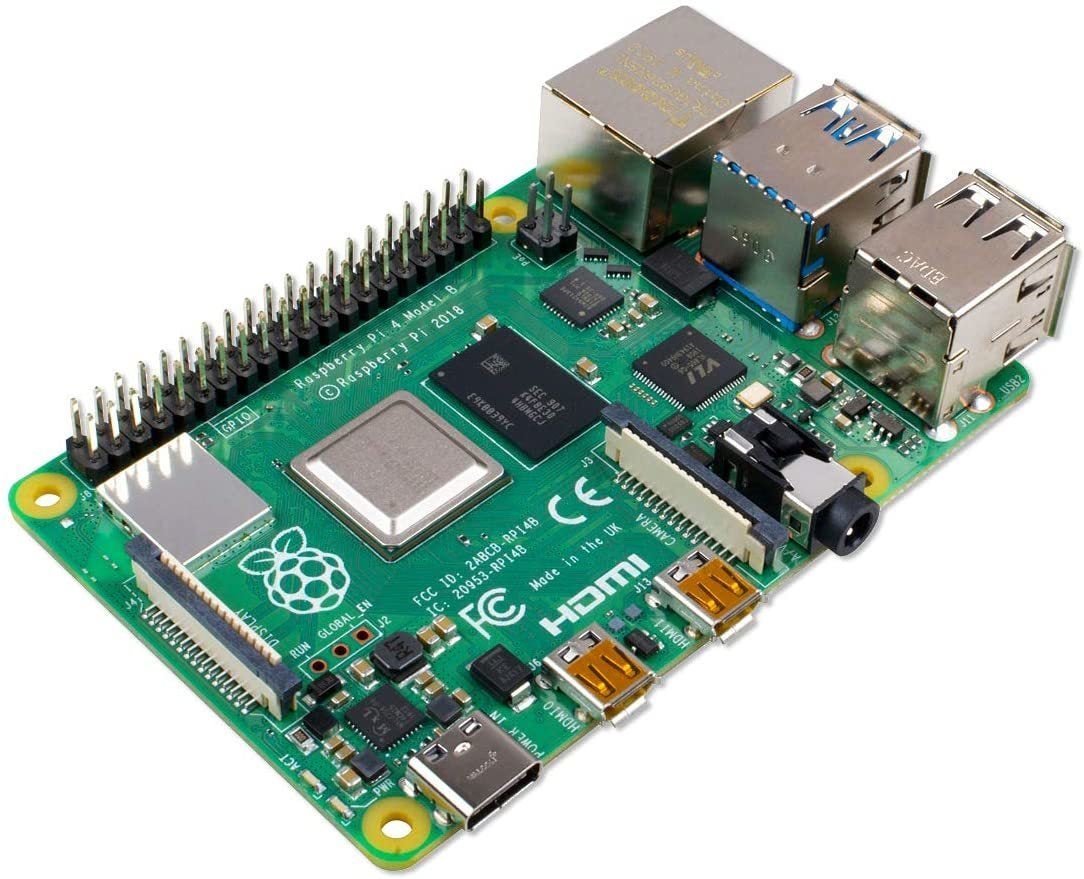
Raspberry Pi 4 (Model B)
- 4GB version, $55 MSRP ($61)
 Amazon
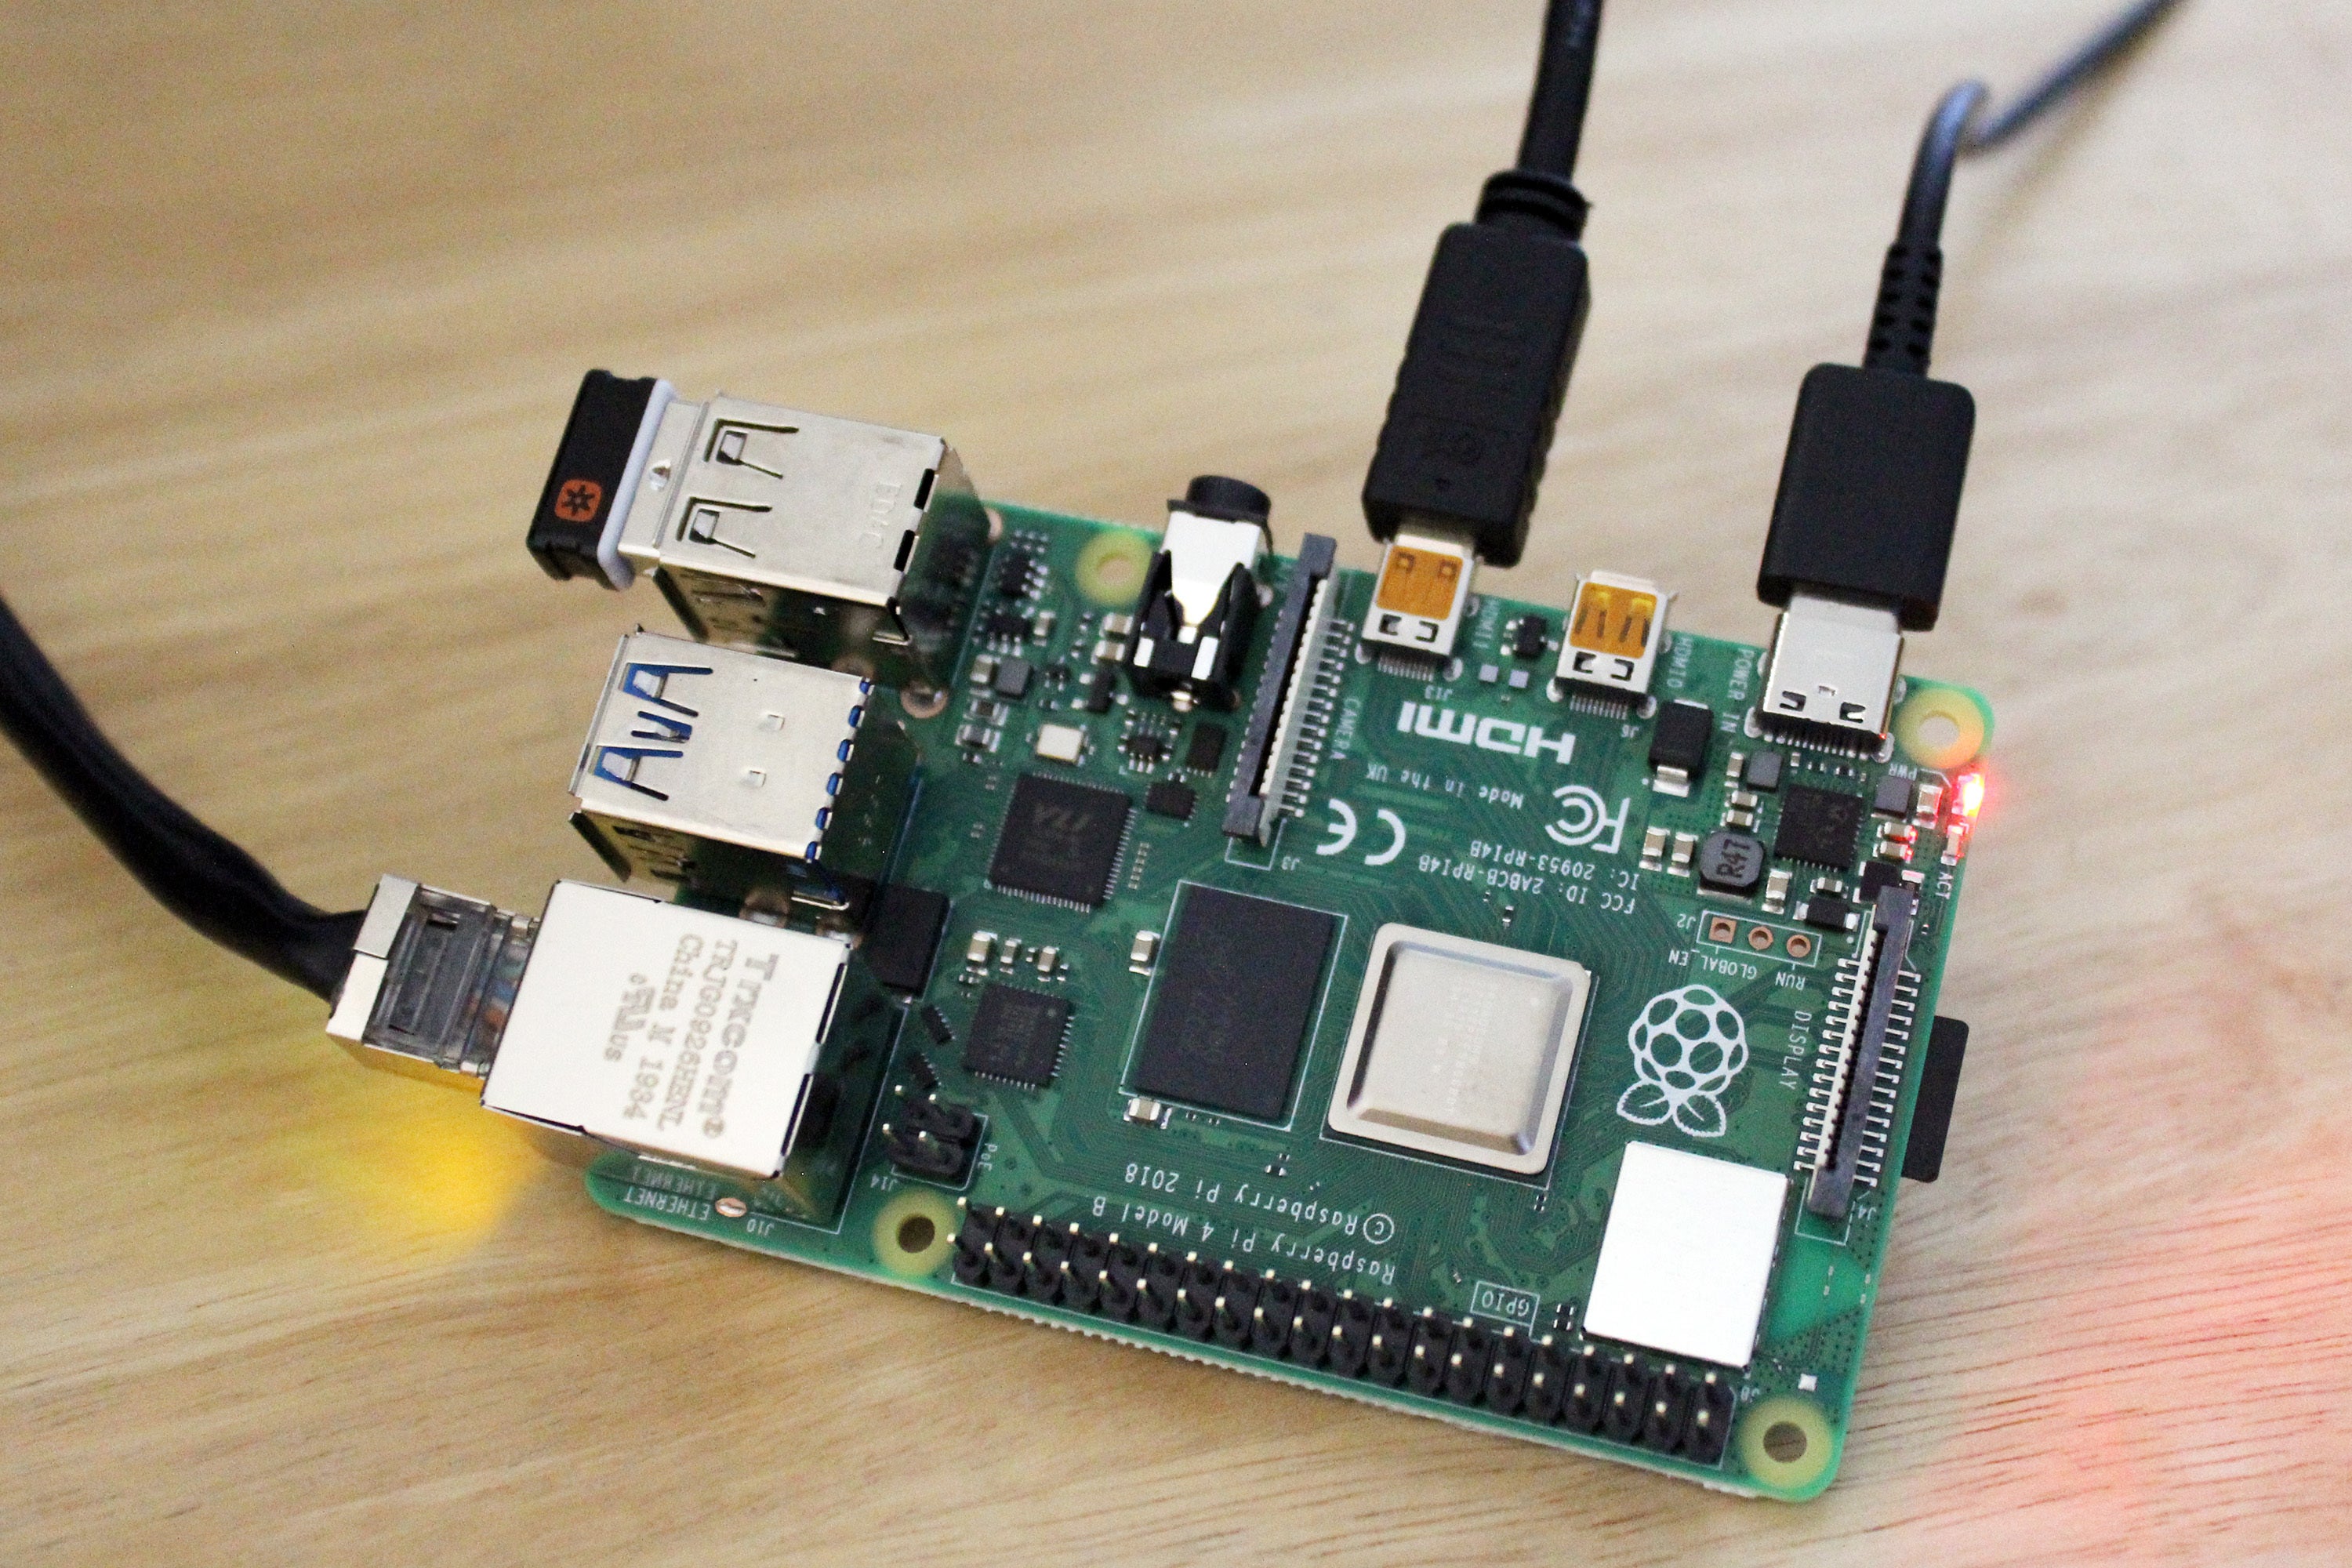
The Raspberry Pi 4 board sports a quad-core 1.5GHz Cortex-A72 processor; 2GB, 4GB, or 8GB LPDDR4 RAM; dual-band Wi-Fi; Bluetooth 5.0; and gigabit ethernet, 2x micro-HDMI, 2x USB 3.0, 2x USB 2.0 ports, along with a 3.5mm analog jack.
The Raspberry Pi 4 has nearly all the elements you need for a PC built right in. The processor, graphics, RAM, Wi-Fi, Bluetooth, USB ports, ethernet, and HDMI are part of the board; you only need to provide power, storage, and (ideally) a case.
Three variants of the Raspberry Pi 4 exist—2GB RAM, 4GB RAM, and 8GB RAM. The other specs remain the same, like the quad-core 1.5GHz ARM CPU and number of ports. We chose the $55 4GB version for this project, as it’s a good balance between price and performance. The $35 2GB option works as well, but it will reduce the number of windows or browser tabs you can have open and the build’s ability to meet greater performance demands down the road.
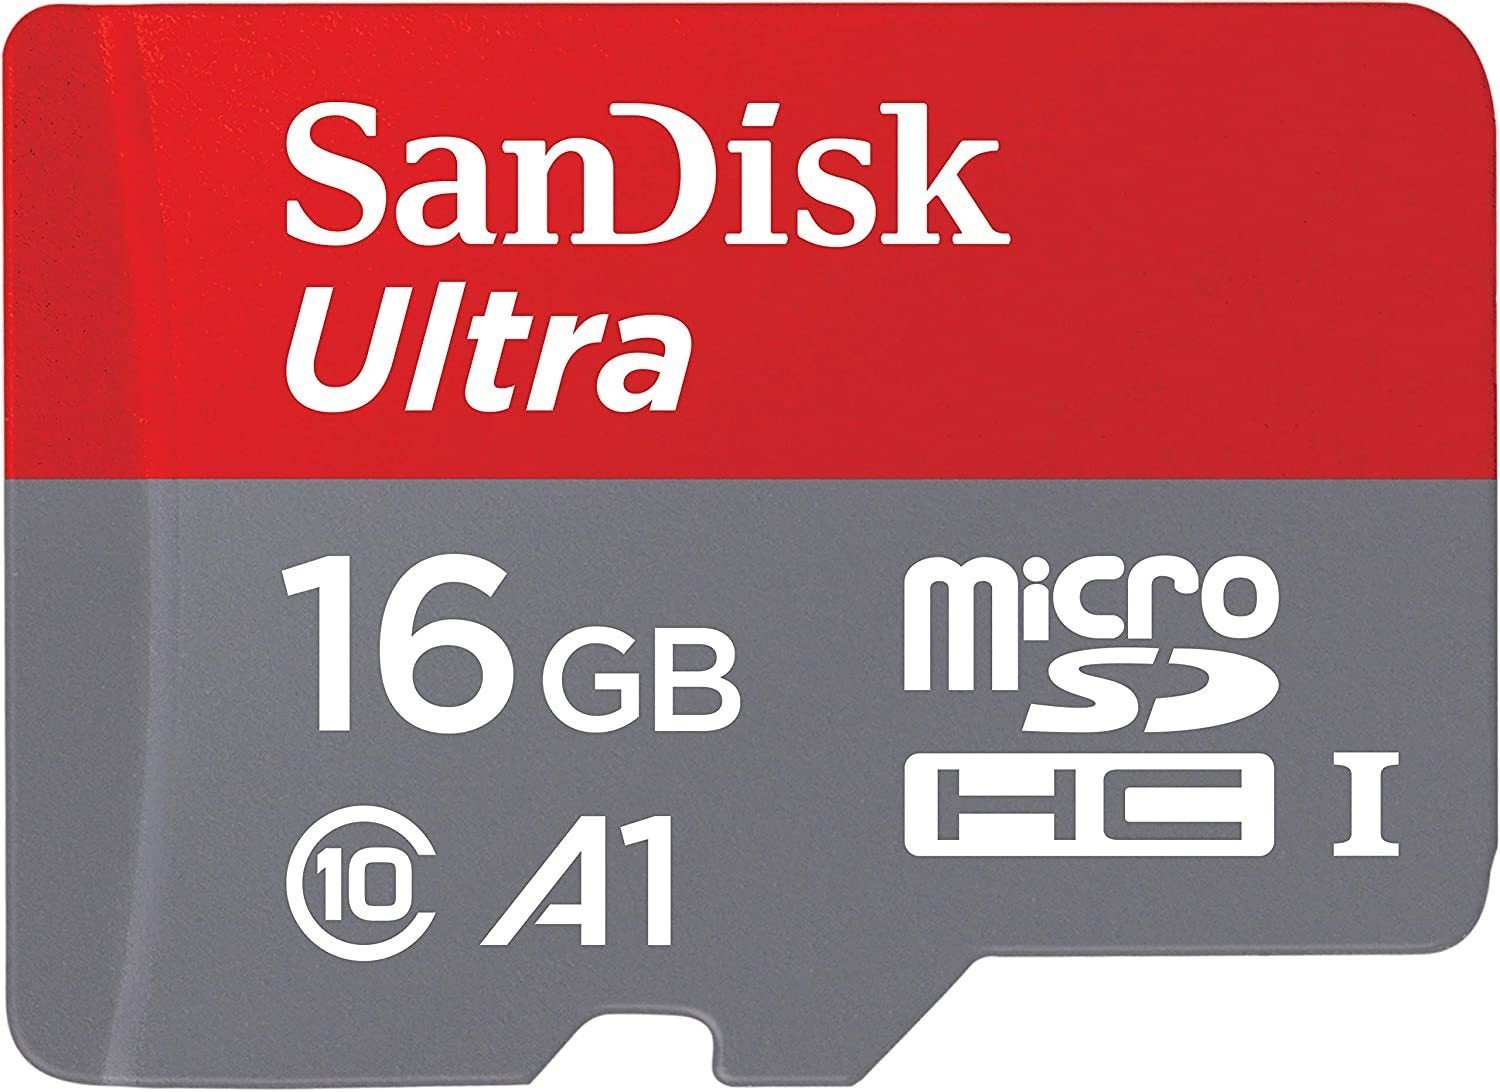
MicroSD card (32GB)
- 16GB microSD card ($6)
-or- - 16GB microSD card with NOOBS preinstalled ($15)
 Amazon
Our recommendation of a 16GB microSD card assumes you work on both cloud-based and local documents. If you’ll skew toward the latter and save many large files to the system, consider a 32GB or larger card as needed.
Purchase a standard blank microSD card if you have access to an existing Windows, Mac, or Linux computer and don’t mind installing Raspberry Pi OS (previously known as Raspbian) yourself. Otherwise, buy one that has NOOBS (“New Out of the Box Software,” a Raspberry Pi-specific OS installer) preinstalled on the microSD card
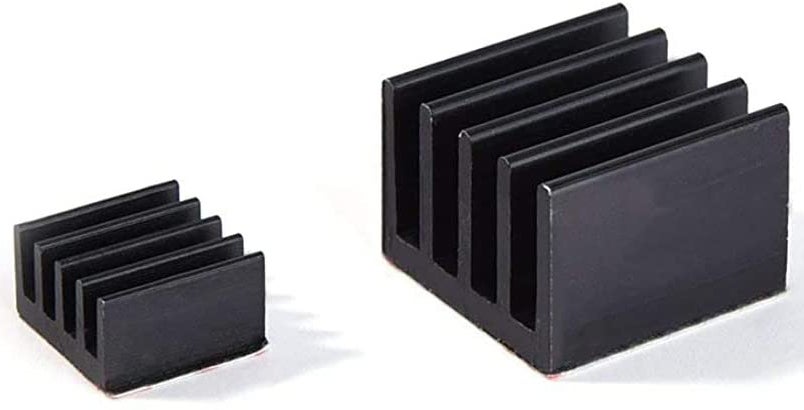
Heat sinks
- 2-pack, various sizes ($4)
-or as part of... - - Case / heat sinks / power supply kit ($15)
 LoveRPi / Amazon
Heat sinks help dissipate heat from the Raspberry Pi 4’s board and allow you to avoid performance issues related to overheating on warmer days. You don’t even have to worry about messy thermal paste, thanks to adhesive thermal pads. Just peel and stick.
You can choose to buy these a la carte or as part of an overall kit—go with the option that ends up cheapest for you given the supplies you already own (i.e., a spare 5V 3A smartphone charger).
Power supply
- CanaKit Raspberry Pi 4 power supply ($10)
-or as part of... - - Case / heat sinks / power supply kit ($15)
 CanaKit / Amazon
The Raspberry Pi 4 accepts any USB-C power supply that outputs 5 volts at 3 amps (5V 3A). That includes any smartphone chargers that meet these specs. If you need to purchase a power supply, we suggest buying it in a bundle or kit that also includes heat sinks and a case, to save money—you probably won’t already have the latter two items already on hand.
Note: To turn off the Raspberry Pi 4, you have to unplug it from the outlet. For convenience’s sake, you may wish to purchase a power supply with an on/off button or add on a $6 outlet power switch to one you already own.
Case
- MazerPi Raspberry Pi 4 case ($9)
-or as part of... - - Case / heat sinks / power supply kit ($15)
 Raspberry Pi Foundation
Strictly speaking, a case is optional for a Raspberry Pi, but using one will protect your board from dust, pet hair, and other hazards.
Myriad options exist, ranging from simple $10 models with fans to fancy $25-plus enclosures made of laser-cut wood. We like cases that come with a fan—because Raspberry Pi boards lack active cooling, adding a case restricts airflow. That fan plus adhesive heat sinks on the RPi itself will protect against performance issues on warmer days.
Operating system
- Raspberry Pi OS ($0)
Based on the Debian distro of Linux, Raspberry Pi OS is a version of Debian 10 (“Buster”) optimized for the Raspberry Pi. Though you can install other operating systems onto your Raspberry Pi 4, we have to stick to Raspberry Pi OS for this build to fully work as a basic productivity PC.
During setup, you’ll install the full version of Raspberry Pi OS, which drops even more popular free desktop applications onto your system than the standard version of the OS does. Chief among them is LibreOffice, an open-source software alternative to Microsoft Office. If you’re in a hurry and you don’t plan to edit any .docx, .xlsx, or other Office documents on the Raspberry Pi itself, you can save some time and install the standard version of Raspberry Pi OS instead. (You can always install LibreOffice later.)
Note: Until recently, Raspberry Pi OS was known as Raspbian—so if you’re new to this operating system and are looking for guides or troubleshooting assistance, you can use the two terms fairly interchangeably in search queries.
Keyboard and mouse
These options are extremely basic, but they get the job done. You may be able to pick up these for free through Craigslist, your local Freecycle group, or the /r/hardwareswap subreddit—often people replace prebuilt computers’ included keyboards and mice with more expensive gear.
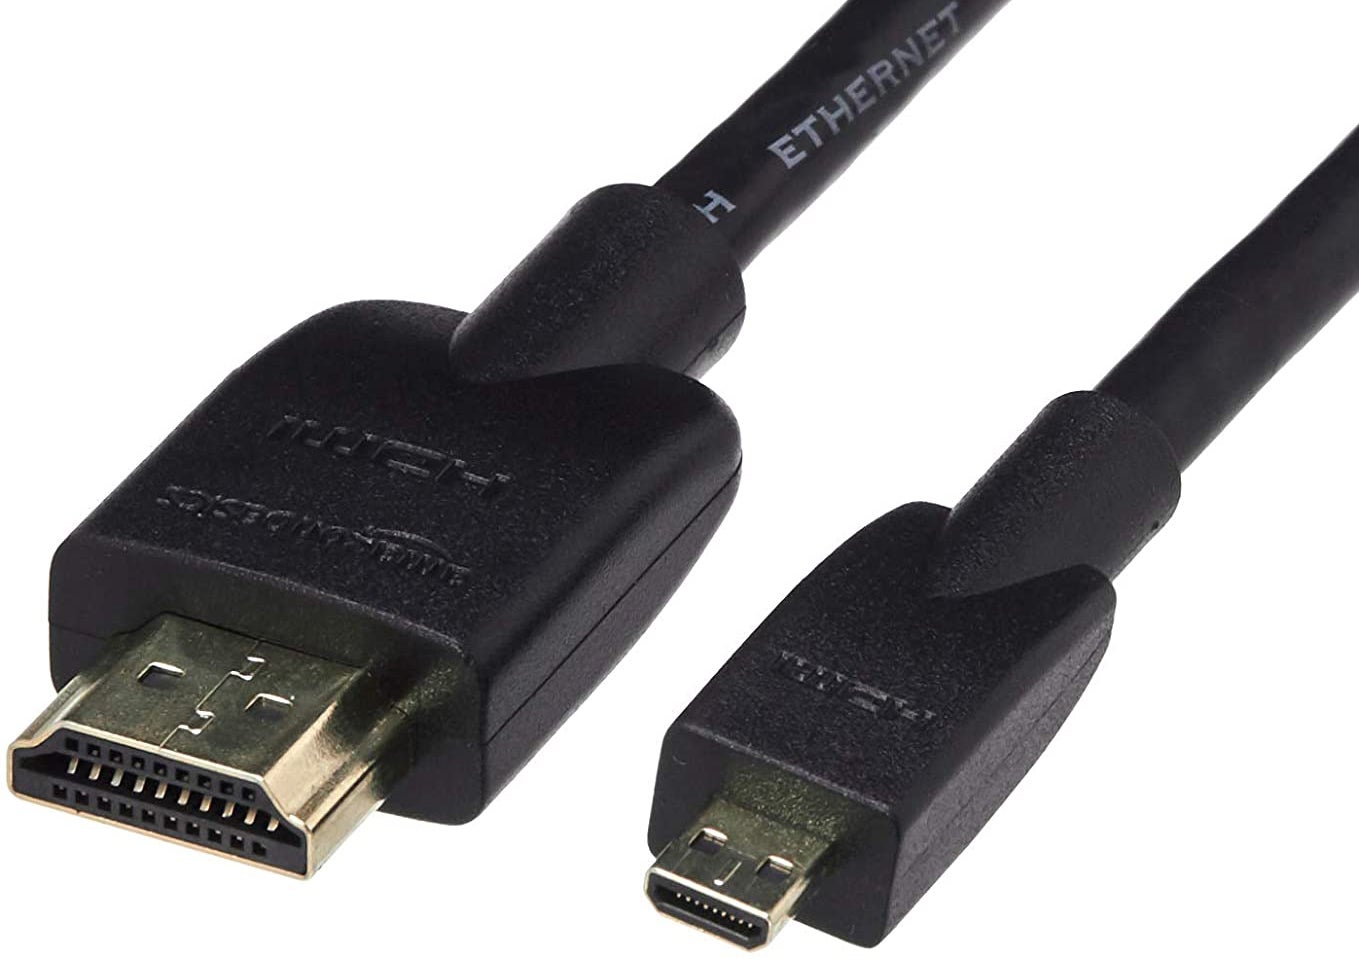
Micro-HDMI cable (or adapter)
- Micro-HDMI to HDMI adapter ($7)
-or- - Micro-HDMI to HDMI cable ($10)
 Amazon
To accommodate the Raspberry Pi 4’s new support for dual-monitor output, the single HDMI port on the Raspberry Pi 3 got scrapped in favor of two micro-HDMI ports. Accordingly, you’ll need to buy a micro-HDMI to HDMI cable, or an adapter for a standard HDMI cable you already own.
Be aware that most adapters are too wide to fit side-by-side, so if you plan to use two monitors simultaneously with your Raspberry Pi PC, you’ll need to buy two of the specialty cables.
Monitor
- Freebie ($0)
Even in this time of COVID-19, you can find the occasional free monitor available through sites like Craigslist, Freecycle, local swap sites, and the /r/hardwareswap subreddit.
If you have to buy a monitor, your easiest cheap option is a gently used one from a good friend or family member. The next-best options are trusted companies selling via eBay with free shipping (e.g., HP, Acer, Best Buy, etc), or finding a great sale through Newegg’s newsletter, the /r/buildapcsales subreddit, and/or Slickdeals.net.
A 23-inch IPS 1080p monitor should run between $75 to $90 on sale these days. We’ve also seen 21-inch VA 1080p monitors as low as $65 on sale within the last few weeks.
| Part | Name | Price |
|
Single-board computer |
$61 |
|
|
Storage |
$6 |
|
|
Case / Power supply / Heat sinks |
GeeekPi Raspberry Pi 4 Case with 5V 3A USB-C Power supply and heat sinks |
$15 |
|
OS |
Raspberry Pi OS |
$0 |
|
Keyboard |
Dynex Wired Membrane Keyboard |
$8 |
|
Mouse |
Dynex Wired Optical Mouse |
$7 |
|
Monitor cable |
Micro-HDMI cable |
$10 |
|
Monitor |
Varies - depends on your freebie haul! |
$0 |
|
Total: |
$107 |
|
Setup
Operating system / hardware
OS installation time: Up to 45 min
Hardware assembly: 5 to 10 min
Initial setup wizard: 10 to 20 min
Assembling a Raspberry Pi system goes very fast—it’s the operating system installation that consumes most of the setup time. Fortunately, you don’t need to babysit the process and can do other things while you wait for the install to finish.
 Alaina Yee / IDG
You can run the Raspberry Pi 4 without case, but we recommend using one to protect it from dust, pet hair, and other hazards.
- If starting with a blank microSD card, use the Raspberry Pi Imager application to install the full version* of Raspberry Pi OS onto the card. You’ll need a Windows, Mac, or Linux PC plus an SD card reader to accomplish this. (You can also do this on a Chrome OS device by following these instructions.)
- If starting with a microSD card with NOOBS preinstalled, go directly to Step 3. You’ll install the operating system after powering on the Raspberry Pi 4.
- Insert your microSD card into the Raspberry Pi 4. The slot is on the underside of the board.
- Attach the heat sinks to the Raspberry Pi 4.
- Install the Raspberry Pi 4 in its case.
- If applicable, remember to connect the case’s fan to the Raspberry Pi 4’s general-purpose input/output (GPIO) pins. Usually, the case will come with instructions on which GPIO pins to use.
- Turn on your monitor.
- Plug in cables for display output, USB devices, audio, and, if you prefer a wired connection, ethernet.
- Finally, plug in the power supply. (If yours has an on/off switch, don’t forget to flip it on.)
- For microSD cards with Raspberry Pi OS already installed, four Raspberry Pi logos will appear on-screen as the machine begins to boot.
- For microSD cards with NOOBS preinstalled, you’ll now begin the installation process for the full version* of Raspberry Pi OS.
- Complete the initial setup wizard’s steps: Changing the default password, connecting to the Wi-Fi network, etc.
*Alternative OS install: You can instead choose the standard version of Raspberry Pi OS if you don’t immediately plan to edit any .docx, .xlsx, or other Office documents on the Raspberry Pi 4 itself. (It makes for a quicker OS installation.)
To install LibreOffice later, open a terminal window and update your system and its package repository by entering sudo apt update, then when that’s complete, sudo apt upgrade. After, enter sudo apt install libreoffice.
Additional required software installation
Streaming media support
Installation time: <1 min*
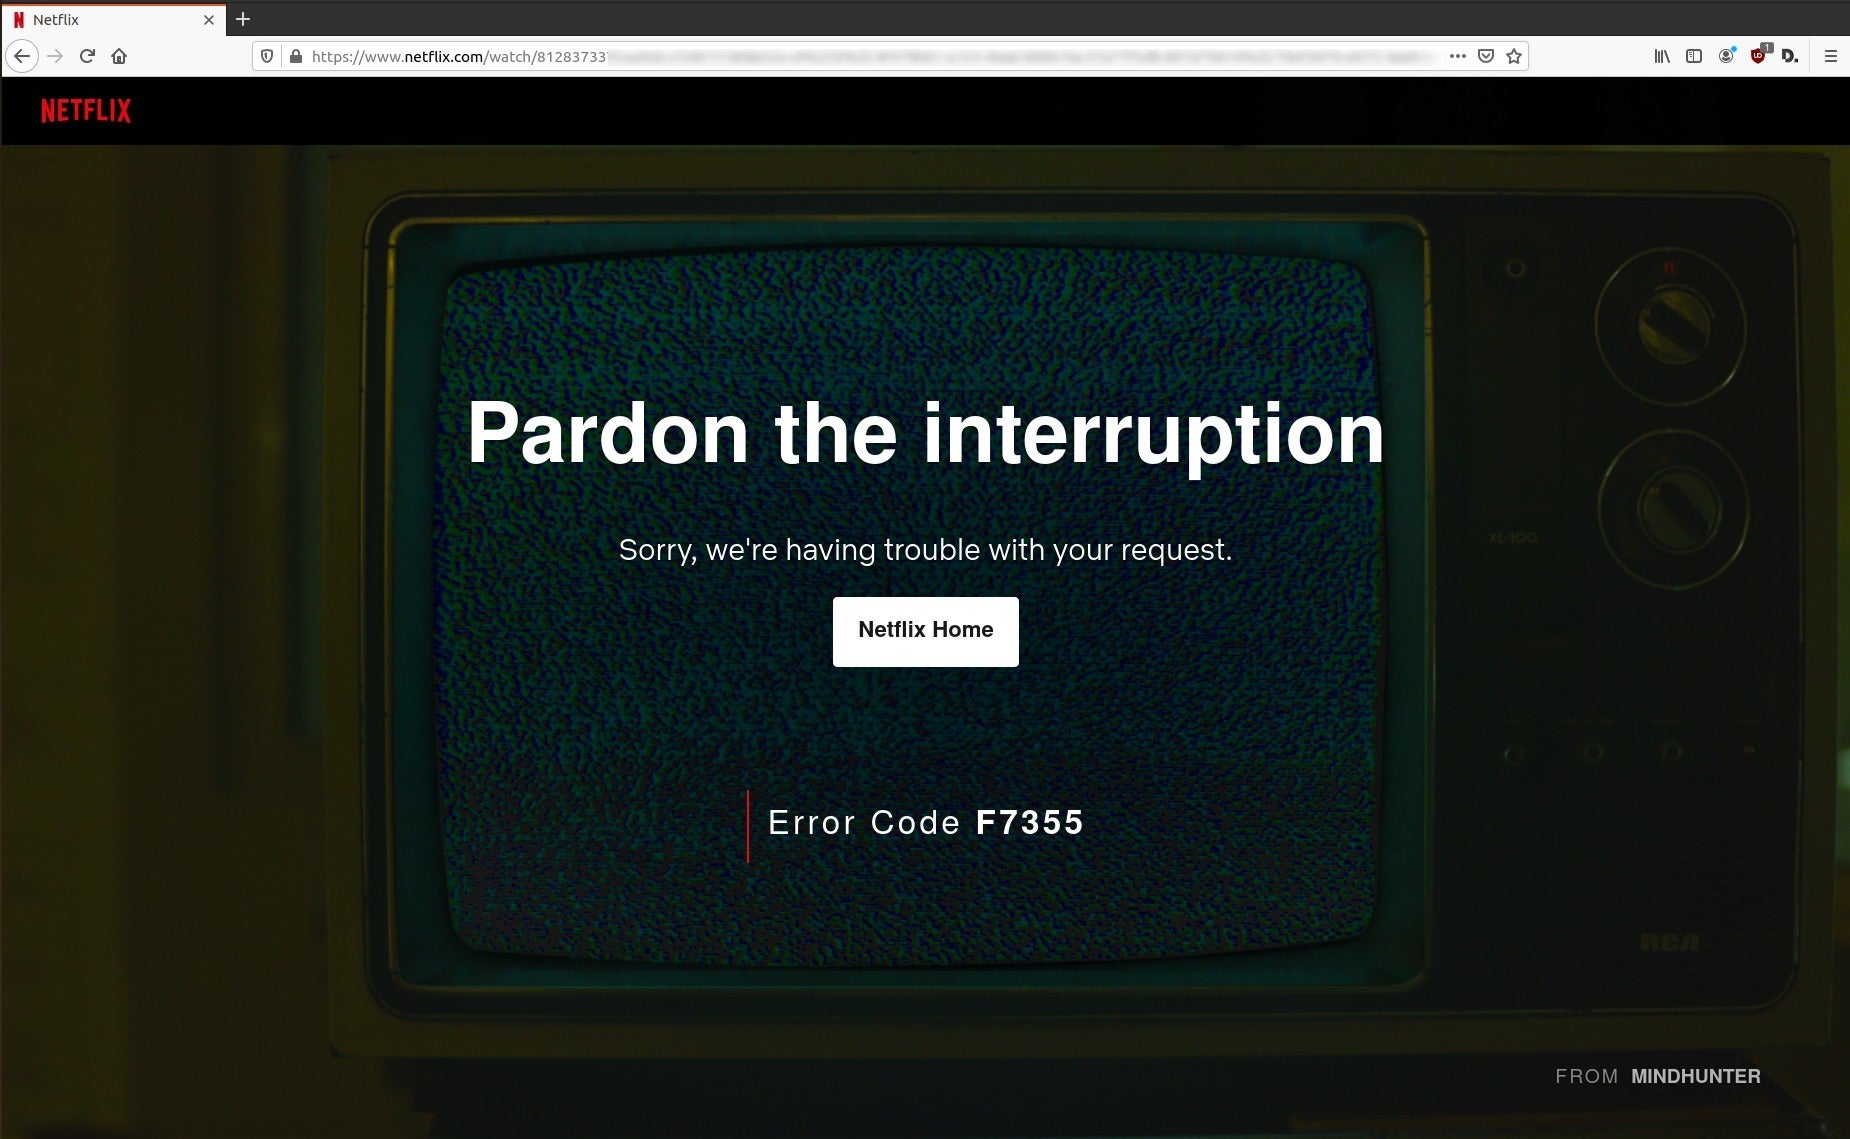
Out of the box, Raspberry Pi OS supports only select streaming video and audio services—primarily free sites with unlicensed content. (Think YouTube and Twitch.) Big, popular platforms like Netflix, Hulu, Amazon Prime Video, and Spotify don’t work.
 PCWorld
Why? Those services protect their licensed content with DRM, and the plug-in that decrypts it isn’t available for Raspberry Pi OS’s default browser. On top of that, ARM-friendly variants of desktop software that supports playback on those sites (including browsers with that oh-so-necessary Widevine Content Decryption Module built-in) don’t exist.
Fortunately, there’s a workaround—a Raspberry Pi community member named ventz discovered they could extract the Chromebook version of the Widevine CDM plug-in, then combine it with a user-agent switcher extension in Raspberry Pi OS’s Chromium browser.
You can find detailed instructions and background information about this solution in their blog post, but they’ve since created an easy, one-line command to implement it:
- Open a Terminal window.
- Paste in the following text, then hit Enter:
curl -fsSL https://pi.vpetkov.net -o ventz-media-pish ventz-media-pi - Reboot.
 PCWorld
After implementing this workaround, you’ll have two choices for a browser.
In the Application Menu (found through the Taskbar on your desktop screen), you should now see a new option for Chromium under Internet: “Chromium (Media Edition).” Load this version whenever you wish to stream from Netflix, Hulu, Spotify, or other Widevine-reliant services.
(If you wish to make any adjustments to your browser settings in the future, do so by launching the regular “Chromium” shortcut, not the “Media Edition” one.)
*A note on security:
Using the one-line command fix does require trust in an internet stranger—which you may not wish to give if this PC will be used for sensitive personal business (e.g., banking). If so, you can instead try one of these three alternative options for media streaming:
- Buy a second microSD card, install Raspberry Pi OS, and leave it as is outside of regularly installing OS updates. Swap in this card whenever you have to deal with sensitive data.
- Buy a separate streaming media device to plug into your monitor or TV, like a Roku Premiere or Fire TV Stick. You can usually find these for about $25 to $30 on sale.
- Re-create ventz’s solution from scratch yourself. One self-described “paranoid/inquisitive” Raspberry Pi community member has already done so successfully; those experienced with Linux (or willing to learn on the fly) should be able to do the same.
User experience
Overall, this little computer is fairly snappy for such budget hardware. You will notice pauses as the system loads a new application or browser tab, and occasionally light screen tearing while streaming video. But once you’re off and running, the basics run smoothly.
For more specific details, we’ve broken out the experience in common tasks below.
Tip: Using speakers with the 3.5mm jack? Raspberry Pi OS defaults to HDMI for audio output, so you’ll need to switch to Analog and then reboot to get sound.
Web browsing
 PCWorld
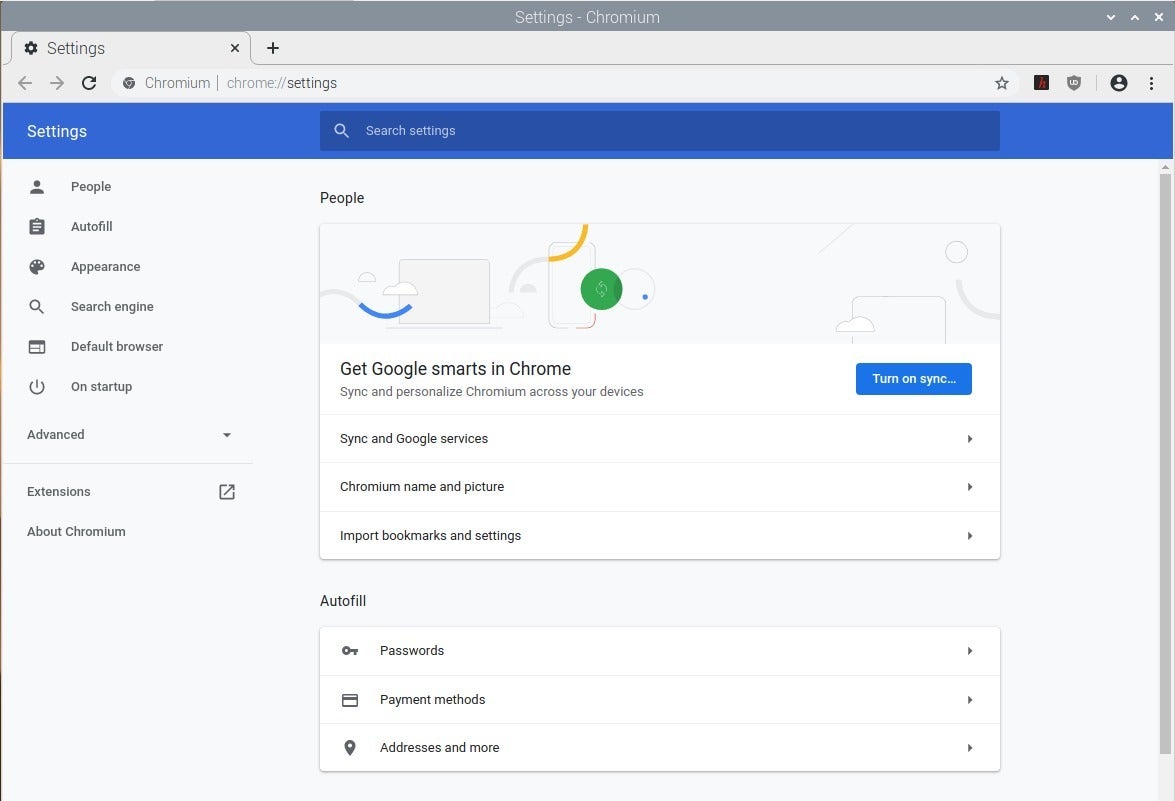
Raspberry Pi OS’s Chromium browser is essentially Chrome, but the open-source version.
Based on similar code to Chrome, Raspberry Pi OS’s default browser is virtually identical to Google’s version. Chromium supports the same set of plugins and extensions, and has the same layout for settings and bookmarks. In a nod to privacy and performance, it comes preinstalled with uBlock Origin, an ad-block extension, and H264ify, an extension that forces YouTube to stream potentially less strenuous versions of videos. DuckDuckGo is also the default search engine.
Loading webpages often have a second or two of delay, but otherwise the experience is no different than on other devices. Adobe Flash works as expected, as do video conference sites like Google Meet and Zoom. (Raspberry Pi OS automatically recognized our Logitech C920 webcam; no additional driver installation was necessary.)
Streaming video/audio
 PCWorld
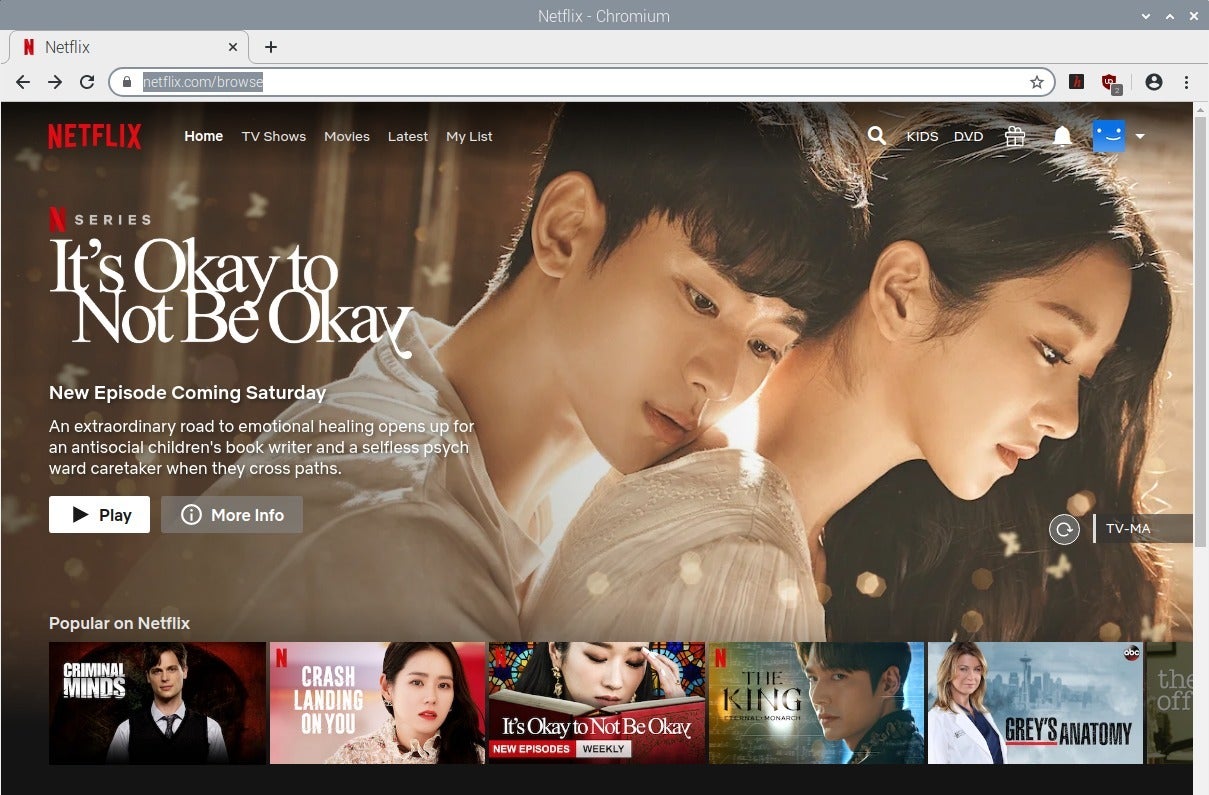
Loading a TV show or movie can take a little longer than on faster devices, but the video playback is smooth.
All streaming of video and audio has to be done through a web browser—and only works for the big-name paid services after applying the workaround outlined above.
For the most part, video playback is smooth at 1080p. You may notice subtle hitches in segments with fast movement, but they stood out only when watching dance videos, a genre where the barest lack of sync between video and audio tracks becomes glaringly obvious. Outside of occasional light screen tearing, watching movies and TV shows felt equivalent to other devices.
One notable difference between the Raspberry Pi 4 and other devices is the delay when entering and exiting fullscreen mode in videos. It takes several seconds before the system will actually make the switch. Playback remains steady through the transition.
Desktop programs
 PCWorld
LibreOffice is surprisingly snappy. GIMP, in contrast, requires a little more patience—even executing commands within the program can cause system drag.
Compared to x86-based Windows, Mac, and Linux PCs, few desktop applications are available for Raspberry Pi OS. The options expand a little for those familiar with compiling programs, but still not by much. Given that this PC build isn’t meant to cover more than the basics, you can install GIMP (an image editor) on a full version of Raspberry Pi OS, or both LibreOffice and GIMP on a standard version, and leave it at that. Your bases will be covered.
Within those desktop apps, you will notice pauses as the system opens the program or a file, and sometimes even when executing a command. It’s definitely slower than on a pricier machine, but for a budget machine that costs $100 in total, we find it an acceptable experience. Note that we did not test using very large spreadsheet files—our guess is that those will drag on this machine.
Final thoughts
At $100, this build’s only downside is that you lack room to grow. For some folks, it may also not be as appealing as a Chromebook with a built-in screen and webcam, or an older, used x86-based system. But as we always say, the beauty of the PC is the freedom of choice—and this project can be ideal as the first computer for a young child, a relative who dislikes the small screens and higher prices of tablets and Chromebooks, or a secondary computer for guests to use.


