 Credit: Dominic Bayley
 Credit: Iron Gate Studios
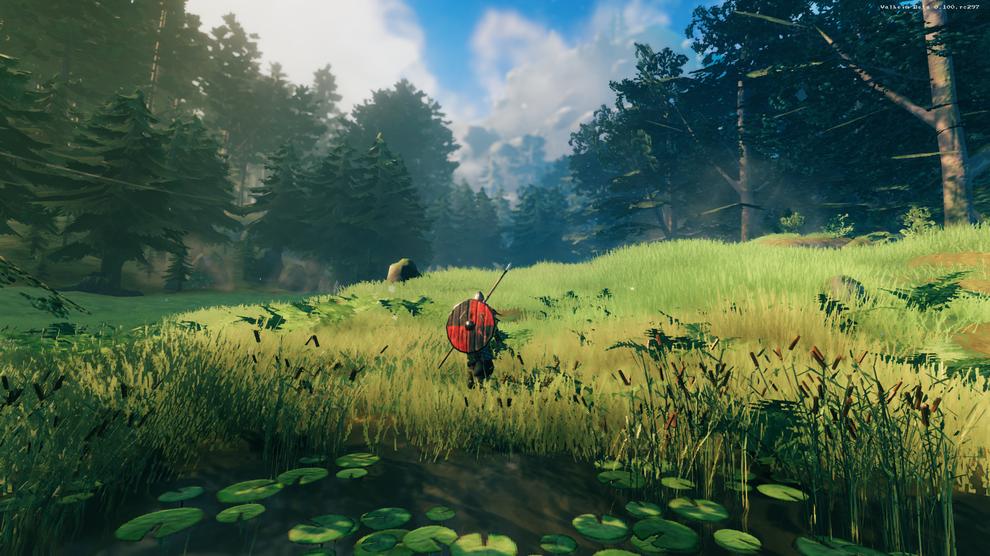
 If you’ve been looking for a popular new game to play on a dedicated local server with friends you need think no further than the exciting Viking-themed survival game, Valheim.
Valhiem by developer Iron Gate Studio has really set Steam alight with its popularity. Since launching into Early Access back in February, two million copies have been sold with hundreds and thousands of players now playing it on steam. A big boon to Valheim's popularity is the ability to play with up to 10 players, where you can all join together to drink tankards of strong Viking mead, build spectacular bases and battle all manner of grizzly Valheim bosses.
 Credit: Iron Gate Studios
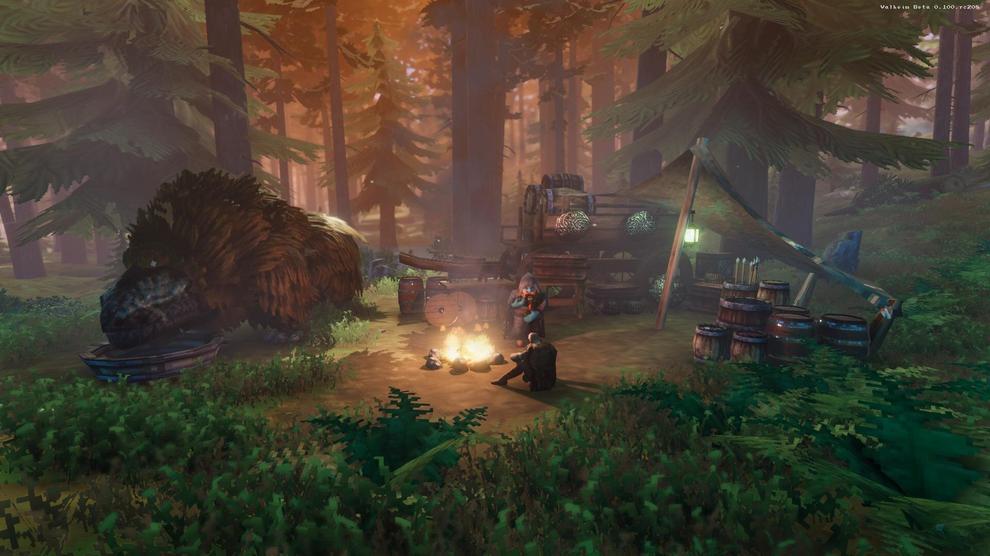
 Although highly addictive, Valheim’s multiplayer can be quite complex. For example, base building can be a letdown if you create a masterpiece in a friend’s local server game and can’t get back in to finish it off because they’re offline.
 Credit: Iron Gate Studios
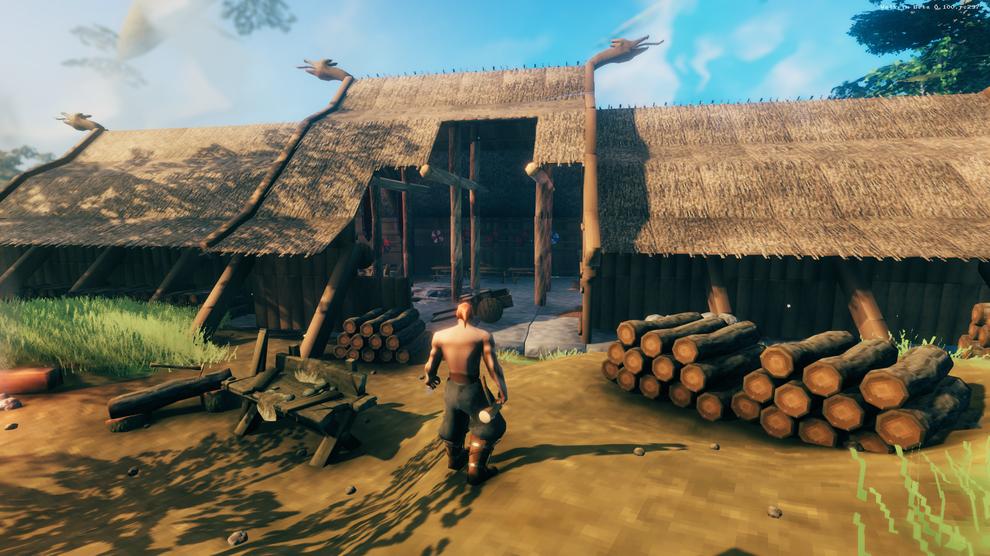
 One solution would be to just join an existing dedicated server but most have been created overseas and intolerably laggy for Aussies to play in. No, what you need is a local Australian dedicated server, with fast pings, minimum lag and plenty of carefree Valheim base building and boss slaying. Here’s how to do it:
Creating a Valheim dedicated server
1) First, select the PC you would like to run your dedicated server on and open Steam.
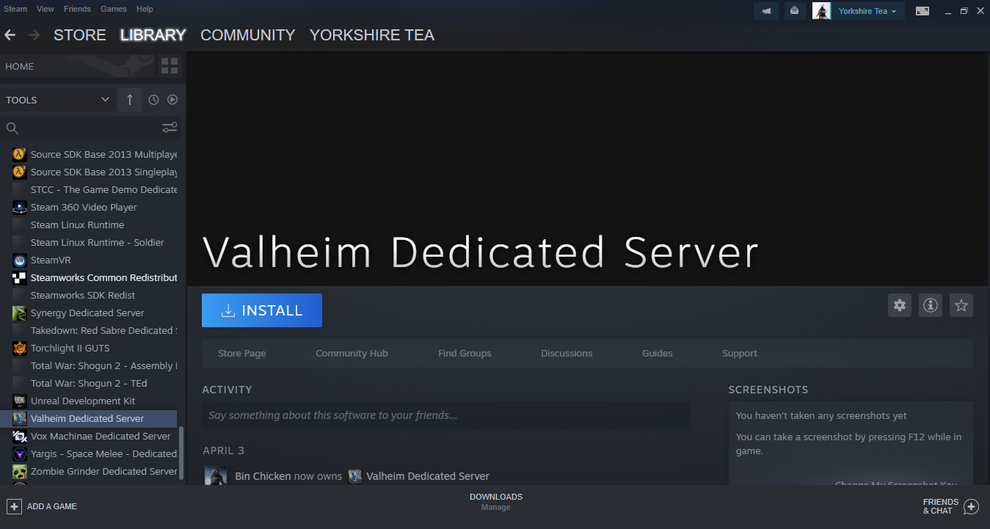
2) You will now need to download the Valheim Dedicated Server tool. To do this click on the drop down menu in the top left-hand corner above your games list and select "tools". Choose and install the Valheim Dedicated Server from the tools list.
 Credit: Dominic Bayley
 3) You will also need to make sure the correct ports are being forwarded to your server through your local router and firewall. To do this type your Gateway IP address into your browser to get your router’s settings. Find “Port Forwarding” and open ports 2456-2458. The server’s port will be 2456.
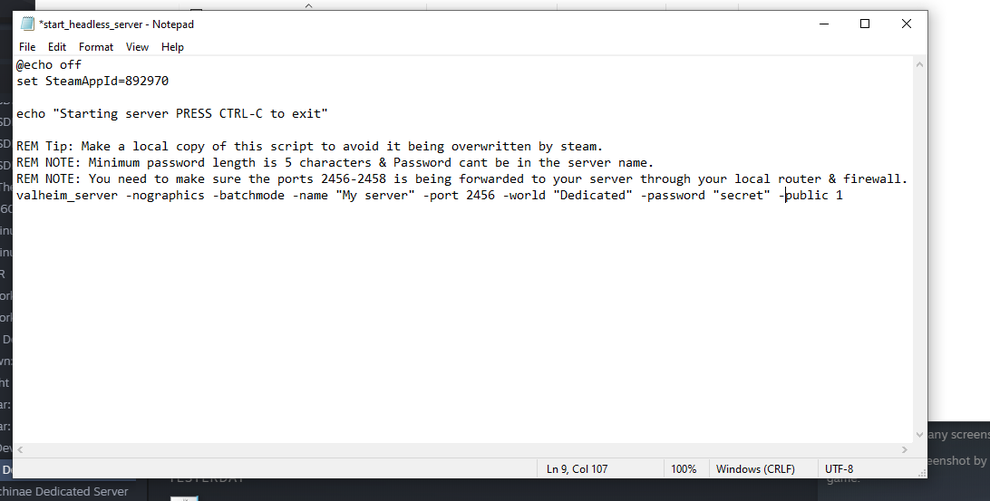 Credit: Dominic Bayley
 4) Now, before you launch your dedicated server you will need to do some editing. In Steam on the Valheim Dedicated Server page click the gear icon at the top right of your Steam window and click on “manage” then “browse local files”. Now find the file start_headless_server.bat and make a backup copy of it.
5) Choose a name for your dedicated server. You might want to include Australia or AU in your title to indicate where it is from. Now right click on start_headless_server.bat in the local files window and select "edit" to open it in Notepad. Find “My server” and replace inside the quotation marks with the name you have chosen for your server.
6) Also choose a name for your game. Find the text “Dedicated” and write in the name of your game between the quotation marks.
7) Set a password for your server. Do this by inserting your chosen password between the quotation marks in “secret”. Remember this word, since anybody you invite to join your server will need to use it to get in.
8) In the script file you may also see the text -public 1. If you wish your server to be visible in Valheim’s list of community servers, leave this text as it is. For a private server, change the “1” to “0”.
9) Save a copy of the start_headless_server.bat now in case anything goes wrong.
10) Your server is now ready to launch. Launch it by clicking on start_headless_server. If you get a prompt, allow it through your firewall. You will know your server is active when you see “Game server connected.”
It's play time
If you’ve followed all those steps carefully and now have your dedicated server up and running, congratulations! – you can now get started inviting friends to join.
For quick and easy access to your server add it to your Favorites in the Steam window in the top left of the screen by clicking "View" and then "Servers" and then the "Favorites" tab and finally "Add server" in the bottom right of the window. You will be asked to enter your internal IP address, followed by a colon and the server's port number. Find this by typing "ipconfig" into the Command Prompt.
For your friends to find your game and connect they will need to use your external IP address together with the server's port number. You can find your external IP address easily in Google by typing "what is my IP".
If you need more help with your dedicated server, you can access the user manual in the same folder that you found start_headless_server.bat. Otherwise, we recommend posting any further questions to Iron Gate Studio in the Steam discussions.


