How do I remove a CPU cooler without damaging the processor? | Ask an expert
- 19 November, 2020 22:30
Q: What’s the proper way to remove a cooler from a CPU? I don’t want to accidentally rip the CPU out of the socket and bend the pins.
Usually warming up the thermal paste before unmounting a CPU cooler does the trick—cold thermal paste is more likely to keep the heat sink and processor welded together. Just run your system for about 10 to15 minutes, then go about your normal process for removal. (Powering down, unplugging from the wall, etc.) The thermal paste should have become gooey and pliable, allowing you to detach the cooler with ease.
When you do remove the cooler, use a very gentle back-and-forth twisting motion. Start very small first, moving slowly in a direction until you meet a bit of resistance, then going back in the opposite direction. With warm thermal paste, you shouldn’t have too much trouble freeing the cooler and then pulling it up and away.
If the heat sink seems fairly stuck to the CPU (even after warming it up), you can try running the PC again for longer. You can also still try wiggling it very minimally to free it—go no more than 1mm back and forth until it gets loose. Stay on the same horizontal plane the whole time and don’t pull up on it at all.
 Adam Patrick Murray / IDG
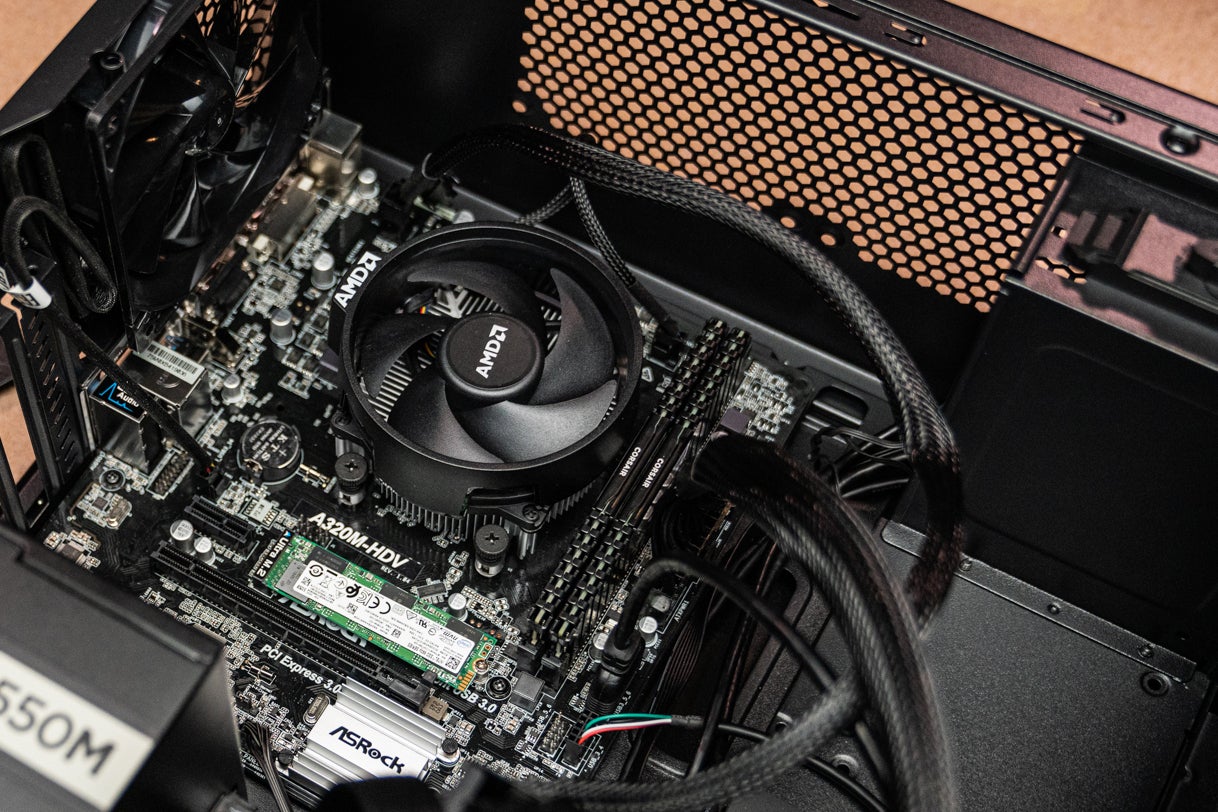
Go gently, and you should have a stress-free removal experience.
In the event you wrench the CPU out of its socket, you may still end up okay. We’ve had it happen to us a few times without pin damage. Don’t take that as license to yank on the cooler without care, though. Spending a couple of hours or more with a magnifying glass trying to ever-so-gently straighten out pins sucks, especially if you’re fixing a motherboard. Bent or smashed pins on a mobo are worse to deal with than those on a CPU, so do your best to avoid that scenario at all costs.
Note: Your PC will only have one set of pins to worry about—either on the CPU or in the motherboard socket. You can figure out where they sit in your setup by looking up your processor’s socket type. Any CPU listed as LGA (“Land Grid Array”) will not have pins; instead, the pins will be in the motherboard socket. Chips listed as PGA (“Pin Grid Array”) do have pins, and drop into a socket with holes. In home PCs, modern Intel CPUs are LGA, while modern AMD CPUs are PGA.
Speaking of bent pins, we have one last related tip to keep in mind. If you’re removing a CPU cooler as part of tearing down your motherboard for repair or replacement, don’t destroy your careful work by then removing the CPU and putting the wrong socket cover in its place. (This step is often a requirement for a vendor to consider an RMA valid.) Once you bring down the motherboard’s metal lever to lock a wrong cover in place, you’ll crunch a ton of pins and your mobo is toast. You can easily make this mistake if you have more than one DIY PC build in your house, so make sure you have the correct socket cover in hand!
Welcome to Ask an Expert, where we tackle your questions about PCs and PC building. Have your own burning concern? Shoot us an email at [email protected].


