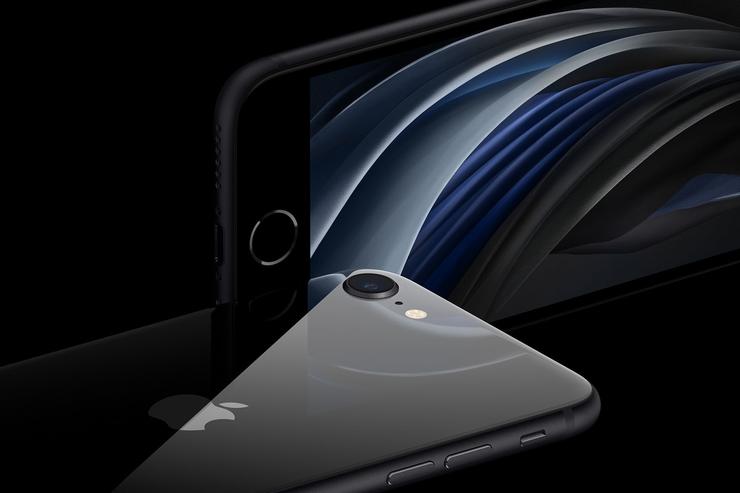
Both the iPhone and the iPod touch make for stellar pocket cameras, and the iPad and iPad mini aren't too bad in a pinch either. An iOS device isn't perfect for every photographic need. But it can serve awfully well in many situations where you might once have needed a digital camera.
The simplest way to shoot photos and video with your iPhone is to use Apple's built-in Camera app. The app launches by default in still-image mode; you can take a shot by tapping the Camera icon at the bottom of the screen or by pressing the Volume Up or Volume Down button. Switch between the front and back cameras by tapping the Camera icon (with the circular arrows) in the upper right corner; shoot video or photos by tapping the Photos/Video slider in the bottom right corner in portrait mode (or in the upper right corner in landscape mode).
Frame your subject
Photographers and artists alike adhere to the "rule of thirds," which says that photos look better when the subject is off-center, aligned about a third of the way from the right or left, or top or bottom (the same holds true for video--just look at TV shows and movies for proof). Imagine that the image area is divided by two equally spaced horizontal lines and two equally spaced vertical lines, According to the rule of thirds, the most visually interesting parts of the image should be positioned along any one of the lines, or at any point where the lines intersect.
While many seasoned photographers can imagine invisible grid lines when composing a shot, your iOS device makes it a bit easier: Just tap the Options button in the Camera app, and turn on the Grid feature. This overlays a three-by-three grid on your viewfinder, which allows you to abide by the rule of thirds with ease.
Set exposure and focus
The Camera app automatically sets exposure (how bright the image is) and focus (what part of the scene is sharp), but it doesn't always do so correctly. To manually set your exposure, tap once on the part of the image you'd like to source.
If you're taking a macro picture (one object in sharp focus, with the background blurred out), or if you're trying to keep your iPhone from focusing on a bright area and thereby washing out the rest of the picture, you can lock the exposure and focus on a specific point. Just tap and hold on that point until the blue focus box appears and pulsates, and then release; the words AE/AF Lock appear at the bottom of the app. To clear the lock and focus somewhere else, tap anywhere else on the screen. Keep in mind that the Camera app forces you to lock exposure and focus together; you can't set an exposure on one object and focus on something else. There are third-party apps that allow you to set each separately, however.
To view images you've recently snapped, you can either swipe to the right on the live image, or tap the square thumbnail icon in the lower left corner.
Use the flash
An iOS device's flash can save many a nighttime picture from complete darkness--but often at the expense of adding a red-eye effect, and temporarily blinding your subjects or making them close their eyes in the shot. Your device comes equipped with a bright LED flash, which can illuminate subjects well from up to about 6 feet away. After that, it peters out, so you'll want to use it only in close quarters. Additionally, your device's LED flash often imparts an odd blue glow to illuminated subjects, although you can fix this with third-party image-editing apps that adjust color balance.
You can enable your device's flash by tapping the Lightning-bolt icon in the upper left corner of the screen.
Enable HDR
When using your device's rear-facing camera, you can enable HDR (high dynamic range) for your photos by tapping the Options button and toggling HDR on. Dynamic range is the light spectrum that an eye--or a camera sensor--can read, and the HDR option can be great for shots with multiple light levels. Your sunset-portrait shot, for example, will capture both your subject and the fire-red sky. Apple's HDR setting takes three images at different exposures (underexposed, overexposed, and in the middle) and combines them.
Because your device's HDR setting frequently results in improved images, it's tempting to leave it on all the time. After all, you can set the camera to save regular and enhanced copies of each photo to your Camera Roll (by going to Settings > Photos). That way, if the HDR shot doesn't wow you, you still have the original photo as well. Unfortunately, each HDR photo takes several seconds to save. And if you're short on storage space, the data required to save an additional, larger version of each image file can add up fast.
Take a panorama
The iPhone 5 comes with a fantastic feature for creating beautiful panoramas of just about anything--your room, the beach, even the Sierra Mountains. Begin by tapping the Camera icon on the iPhone, choosing Options, and selecting Panorama. You're presented with a screen that has an arrow pointing to the right and a line for you to follow as you record the image by swiping to the right. While you're using this feature, it may feel as if you're recording a movie, but you're not: The result is a still picture.
If you prefer to sweep from right to left instead, just tap once on the arrow while in panorama mode. It will change directions. You can also take vertical panoramas by holding your phone horizontally and sweeping upward. You can control focus and exposure, just as you can when you're taking a regular picture, by tapping an area in the composition that you want the phone to calibrate for.


