 Credit: Mark Hachman / IDG
Microsoft’s Font Maker app feels like something your parents should know about: a fun, quirky, but still useful way of turning their handwriting into an actual font for invitations and other personalized notes.
Microsoft quietly launched Font Maker in conjunction with the beta releases of Windows 10 that it distributes to members of its Windows Insider program. But it’s really just an app that can be downloaded from the Windows Store, and you can download and use it even if you have an ordinary version of Windows 10. Creating a font from your handwriting should take about five to ten minutes, tops.
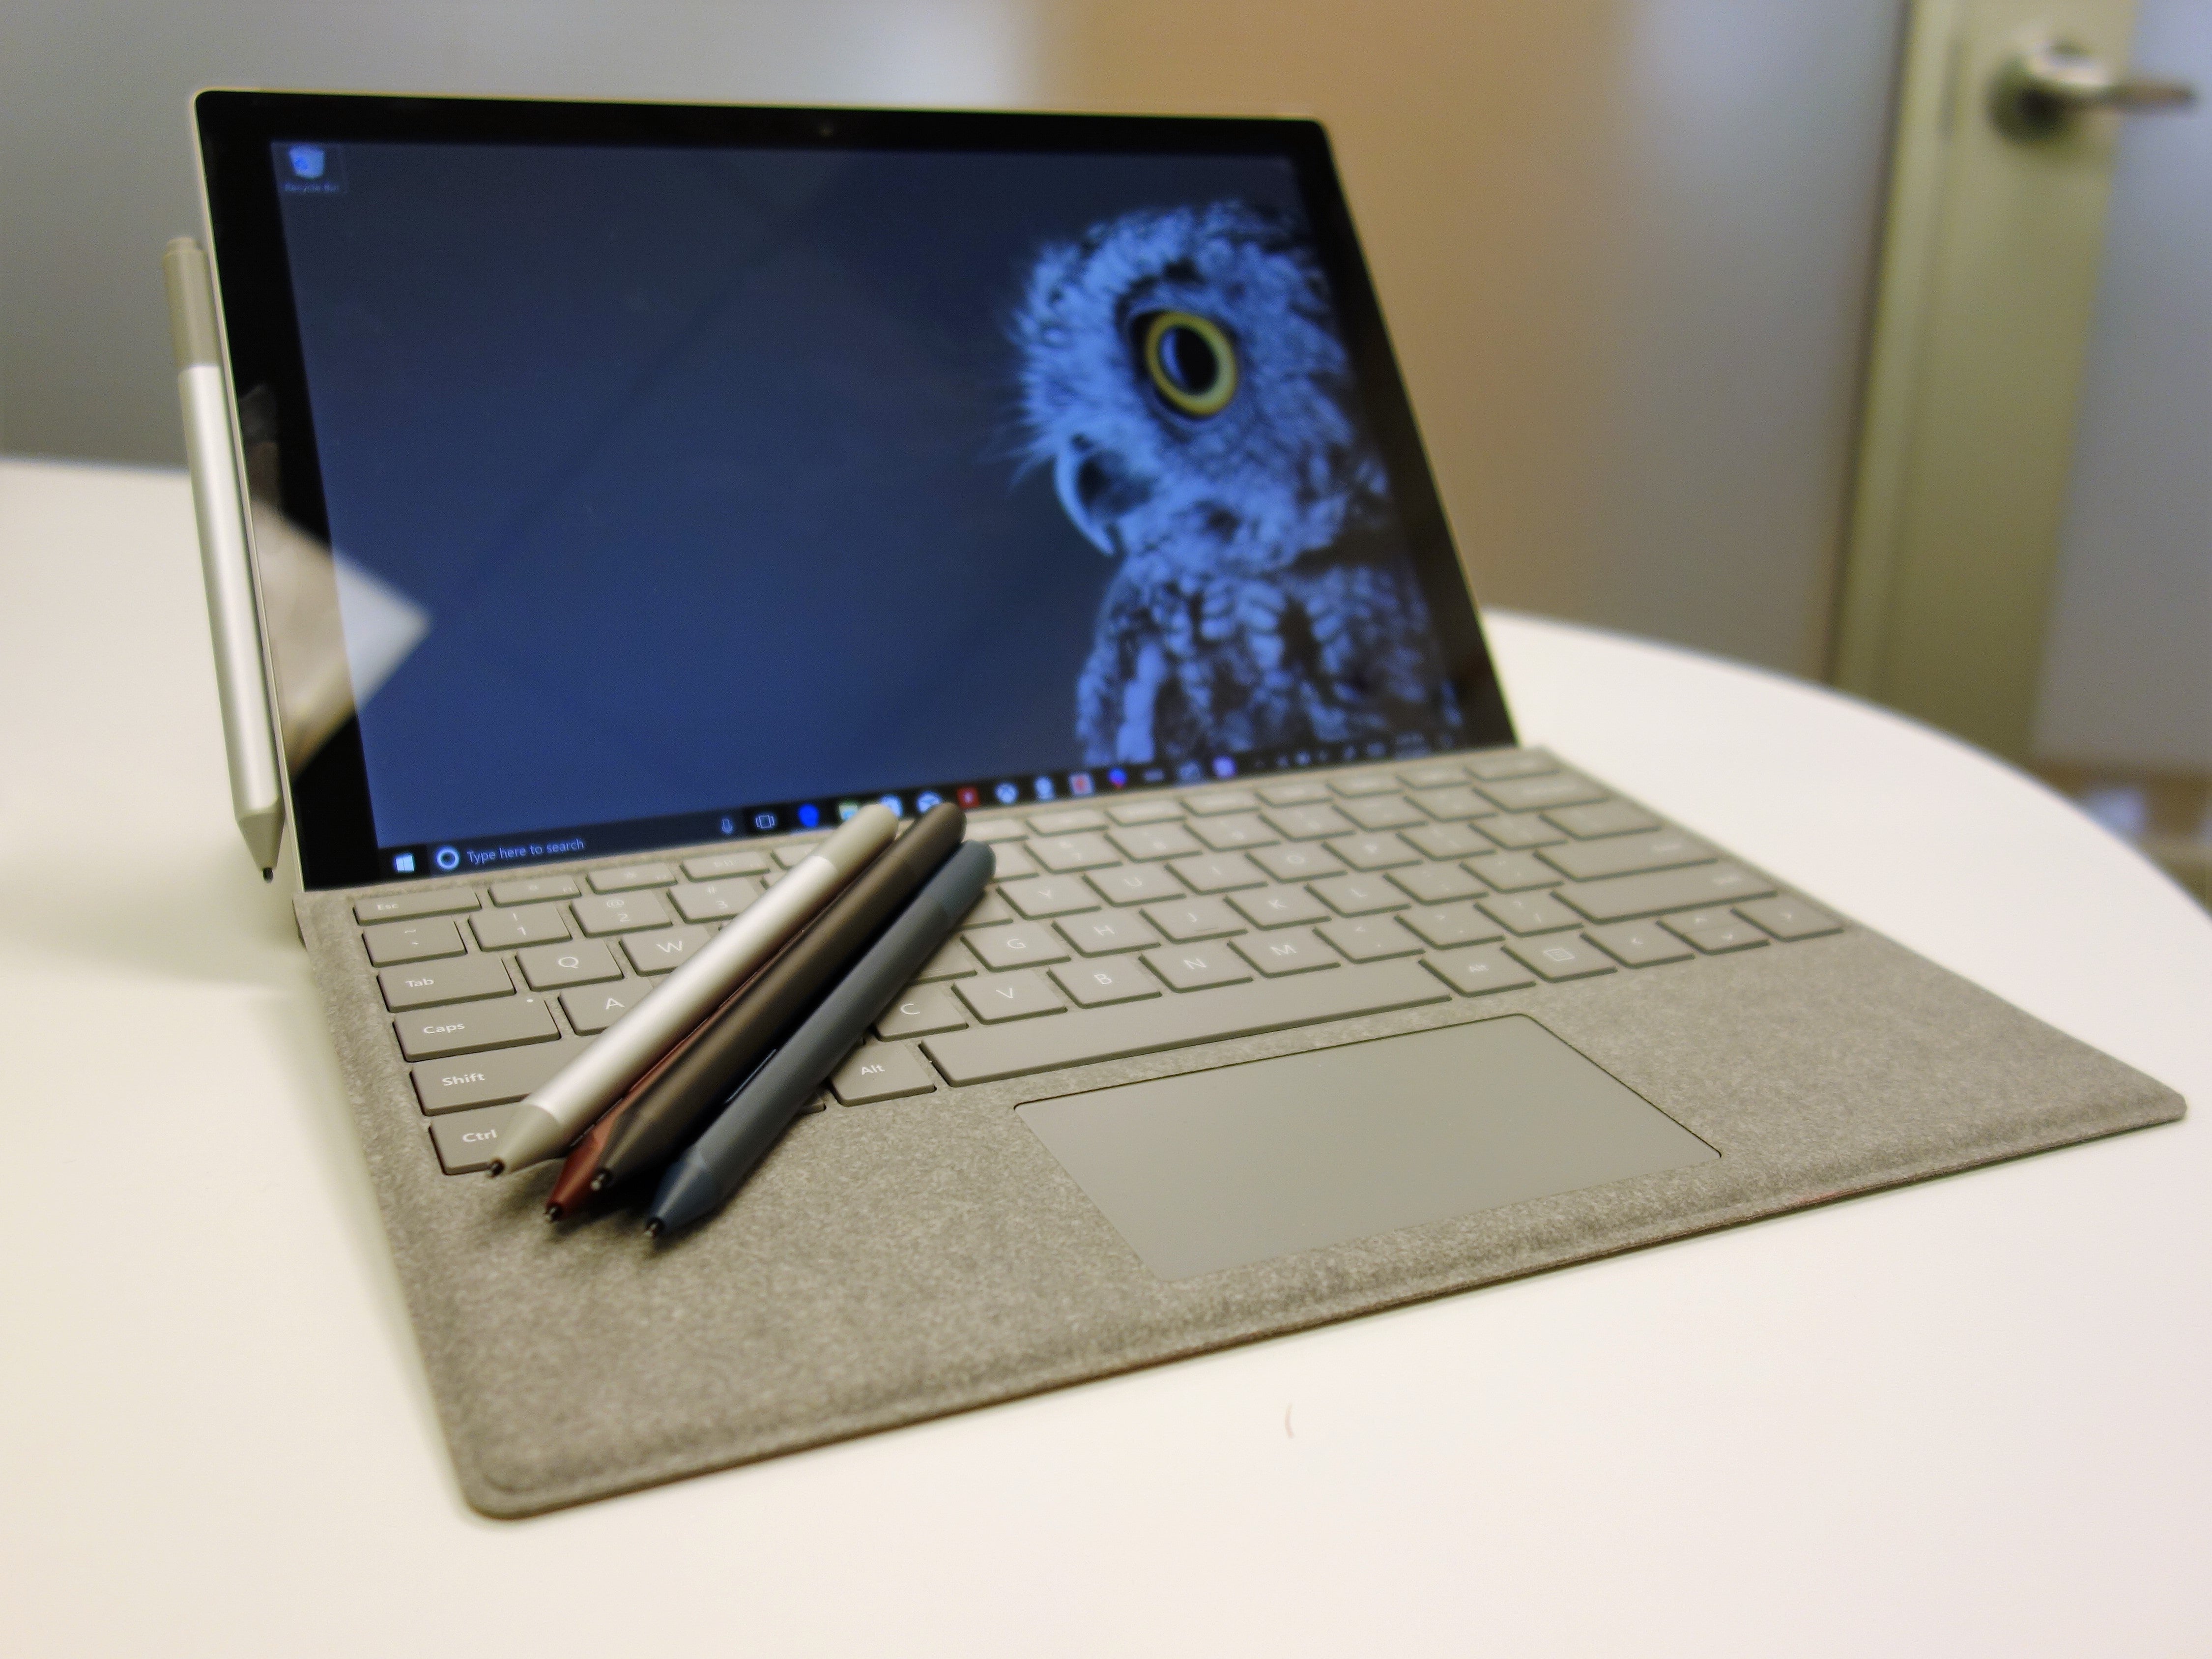
The only real requirement is a touchscreen PC, preferably a tablet that you can lay flat to ink upon. And yes, you’ll probably want a stylus, preferably an active one. You can create your own fonts using a mouse, but the letters probably won’t look like your handwriting, which is really the point.
 Mark Hachman / IDG
While a stylus isn’t essential to create a font with Microsoft Font Maker, you’ll have an easier time of it if you do.
A quick bit of setup
Before you begin, take a moment and ensure your pen is set up correctly. Connect it via Bluetooth, if it isn’t already. You can use a passive stylus if you’d like, though an active one allows you to easily erase mistakes. (Don’t sweat it, though—simply creating a new font isn’t a reason to run out and spend $99 on a Microsoft Surface Pen.)
You can either click the pen icon on the taskbar or manually enter the Settings > Devices > Pen & Windows Ink menu to tweak your pen’s settings further. Here, I’d recommend telling Windows which hand you write with and ignoring touch input while using your pen. Windows didn’t do a great job of ignoring my palm while creating my font, causing me to bounce out of the app on a few occasions.
 Mark Hachman / IDG
Check those pen settings within Windows before you begin.
Otherwise, you’re almost ready. Download the Microsoft Font Maker app from the Windows Store, which weighs in at a bit more than 50MB.
Create your first Font Maker font in minutes
After first launching Font Maker, you may see a permissions screen asking you to allow Microsoft to anonymously collect your inkstrokes to improve Windows. Whether you choose to do so is up to you; it won’t affect your ability to use Font Maker.
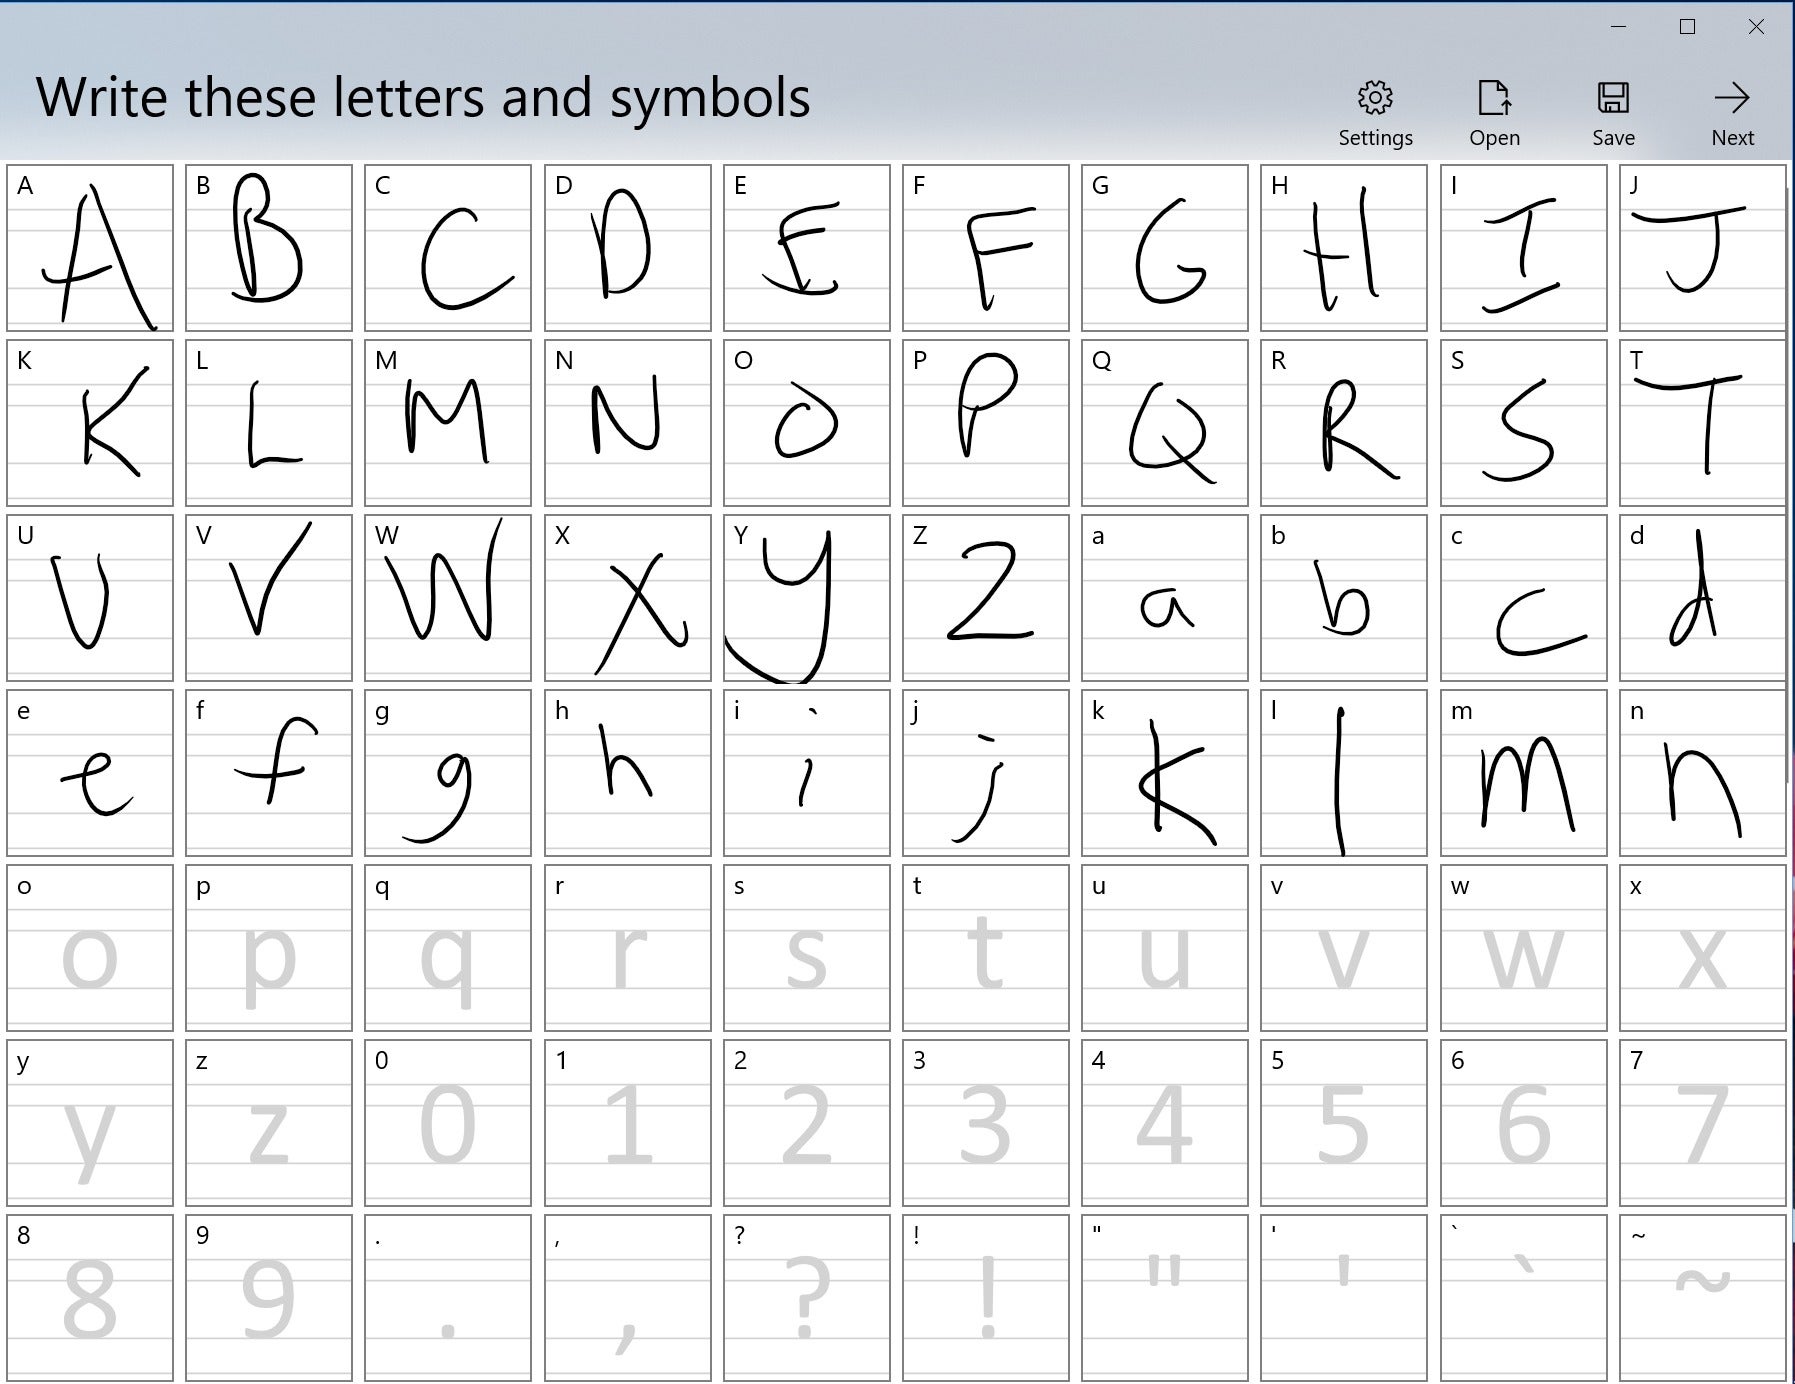
Otherwise, you’ll be faced with a page of individual character templates, which may hearken back to your kindergarten days. For each character, there’s a “guide” that quickly disappears when you begin inking within the box. Other lines will guide you in how large to make each character, as well as how to align each whorl and loop. Note this is an English-language font guide; I haven't seen any options for umlauts or the French cedille, for example.
 Mark Hachman / IDG
Begin inking characters within each of the boxes to begin creating your font within Microsoft Font Maker.
Don’t take Microsoft’s guidelines as gospel; for example, if you want to ink a simple “g” with an “eye and fishhook,” feel free. And if a full-fledged ampersand isn’t your style, don’t feel compelled to use one. It’s probably better if you simply ink each character quickly, to preserve “your” style. Note, however, that light, quick penstrokes may also result in a font that is too "spindly," so inking slower and pressing harder may make a bit of difference. (You can also make your font bold, which adds to the thickness of the ink.)
Unfortunately, neither the Backspace key nor Ctrl-Z seem to work to undo errors or messy inkstrokes, at least in the iteration of the software I tried. You should be able to erase them with a Surface Pen or other active stylus, however. Make sure you ink all of the characters, or Font Maker will simply leave them out of your font.
You can save your work in-progress using the “Save” command, which stores it as a .jfproj project file. But just as you can’t edit an existing TrueType font stored within Windows, you can't edit your custom font once you've finalized it.
How to fine-tune your Font Maker font
On the next page, you’ll see three phrases, which help Windows ascertain how your words will be spaced and how phrases will appear. It doesn’t appear that Microsoft Font Maker is capturing the shapes of the letters you ink, just the spacing, so you don’t need to be too careful.
 Mark Hachman / IDG
Microsoft Font Maker will ask you to write a few phrases to fine-tune your spacing, and how you separate words. (The phrases may vary from time to time.)
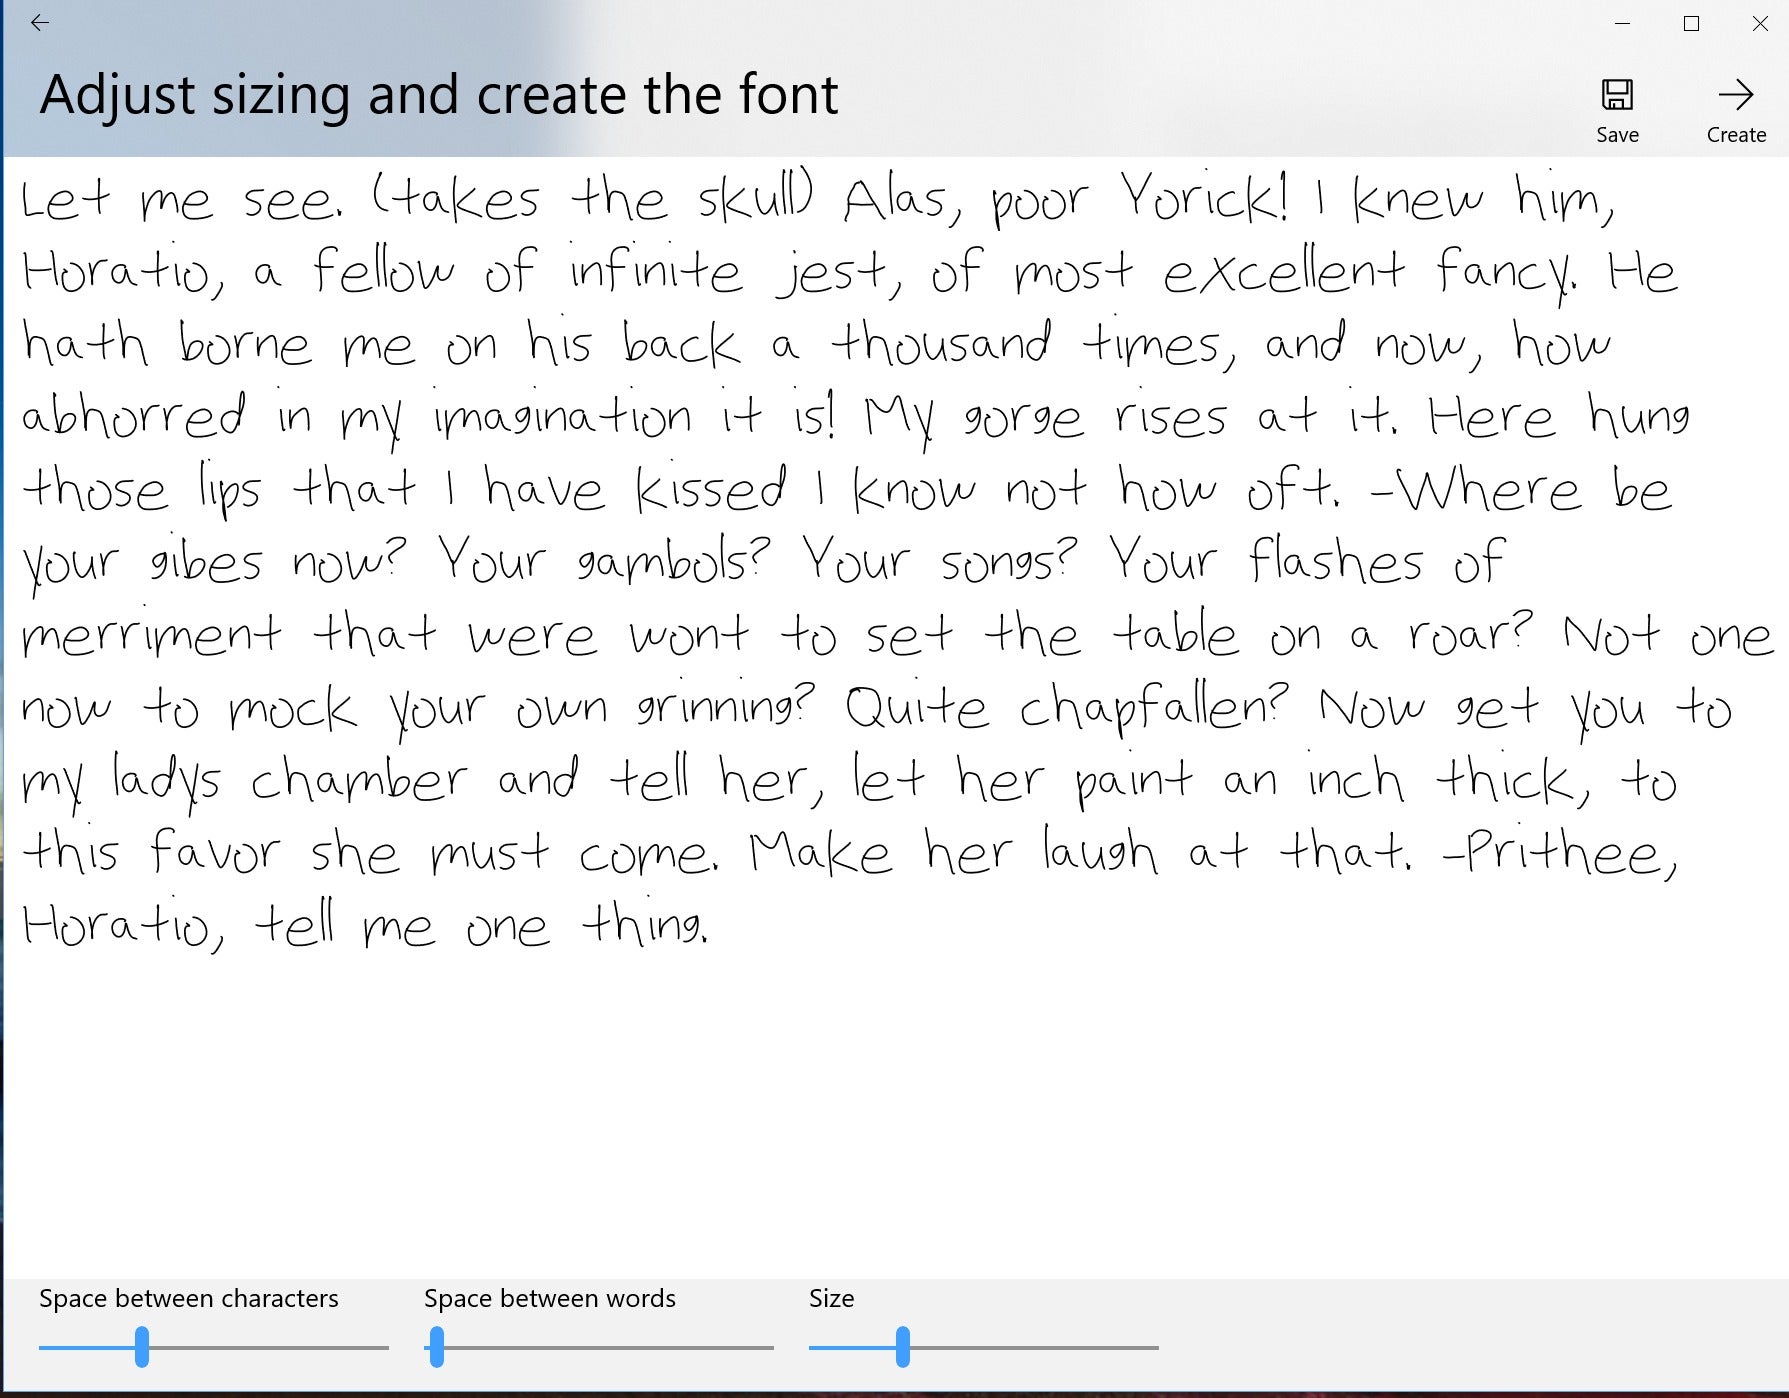
Finally, Windows will present a page showing your font in action, with a page from Hamlet. This is the final opportunity to adjust the size of your font, the space between characters, and the space between words. If you see a letter that looks out of whack, you can retreat to the previous two screens via the tiny backspace or left-pointing arrow at the top-left corner of the screen, though you’ll probably want to re-ink those three test phrases again. Don't worry too much about the size of the font, as you can always adjust it in an app like Word.
 Mark Hachman / IDG
Here’s a test page of sorts for how your final font will look. You’ll have a chance to tweak some things, such as spacing.
When you have everything the way you like, click the Create button to export your font. (Clicking Save creates another project file, which is optional.)
How to use your new font within Windows
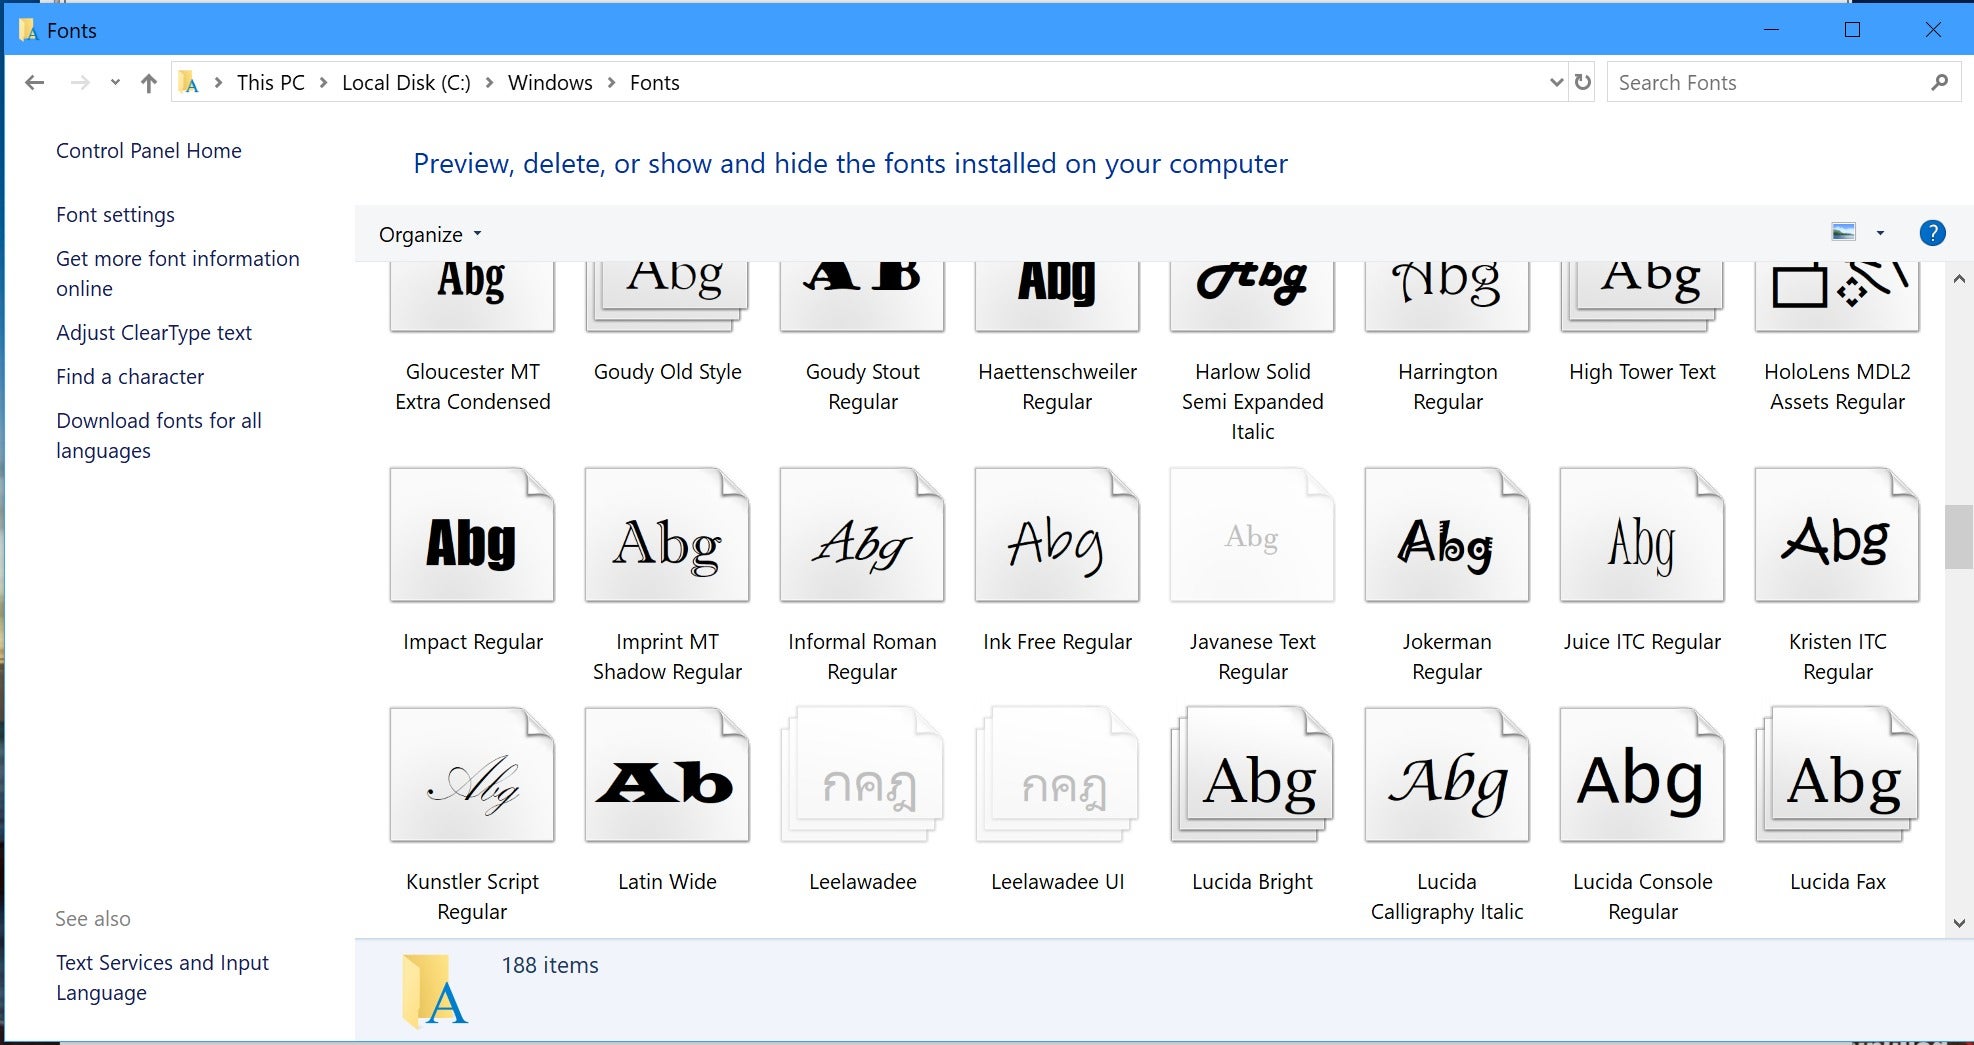
Ideally, Font Maker would save your new font within the Fonts folder, so that you’d instantly able to use it within Word. Unfortunately, Windows doesn’t do that yet. In fact, if you try to save it within the Fonts folder (go to the File Explorer folder icon on your taskbar, then go to This PC > Local Disk > Windows > Fonts) it won’t even show up as an available destination.
 Mark Hachman / IDG
Here’s the folder where your Windows 10 fonts live. You’ll probably need to copy and paste your new Microsoft Font Maker font here to be able to use it within apps like Microsoft Word.
There’s an easy fix, however. Save the font in a known location (the Documents folder is the default) then simply open File Explorer, right-click your font, and copy it. Find the Fonts folder again, right-click, and paste it. You’ll see a brief progress bar explaining that your font is being installed. (If you later decide that you’d like to delete your font entirely and start over, you can also right-click your font and select Delete.)
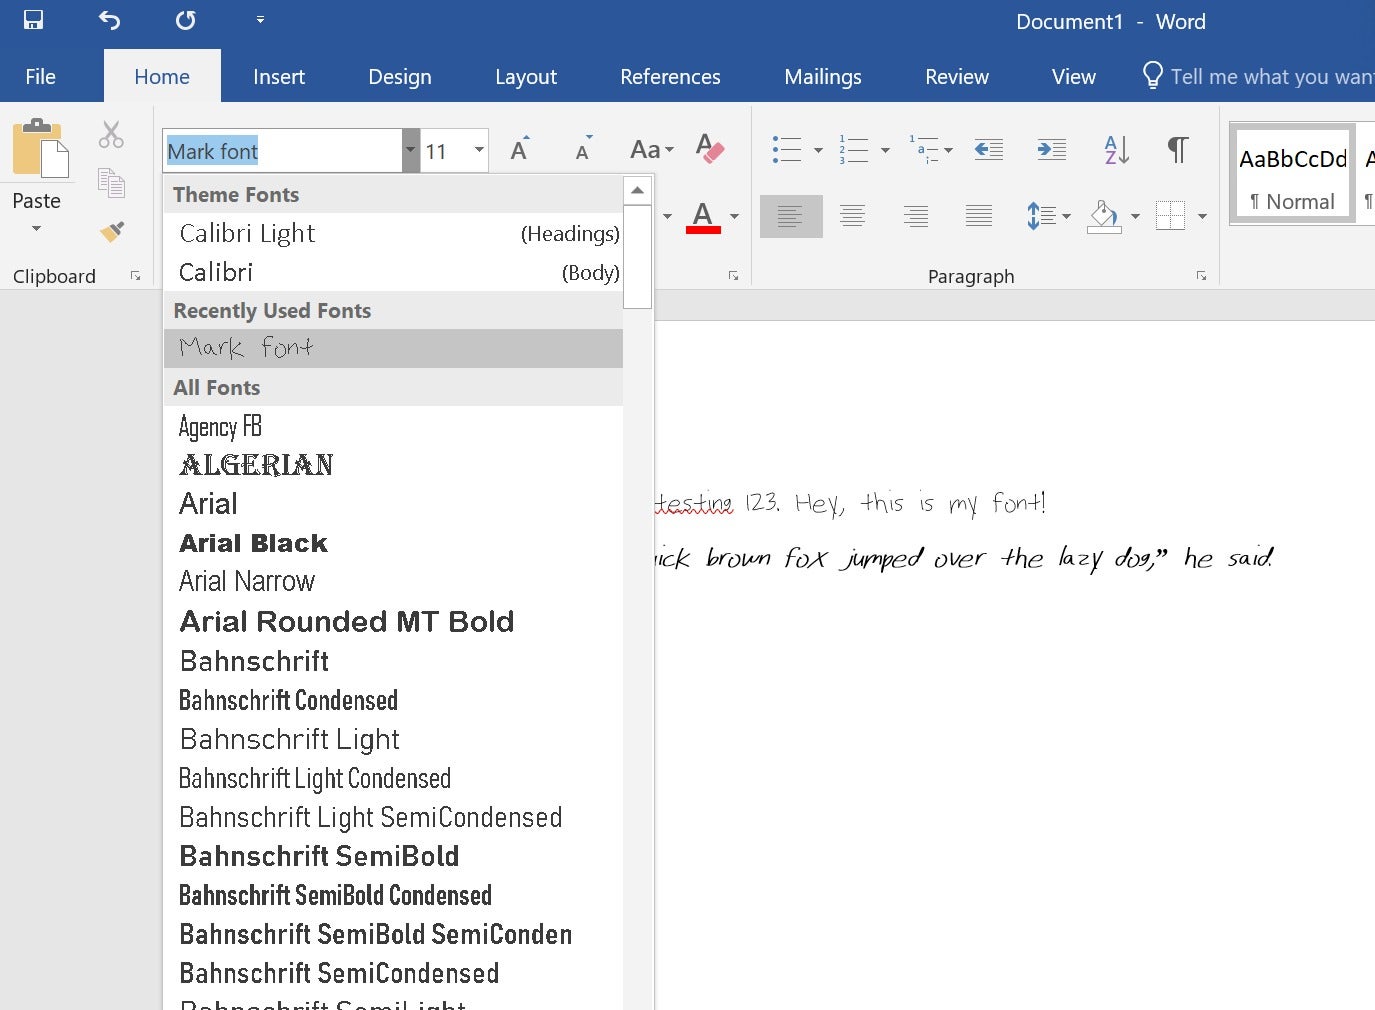
After that, when you open Word, WordPad, or another app that pulls fonts from your font folder, you should see your font in the list of fonts, which is alphabetized by name. (One exception, oddly, is the Fonts submenu within Windows Settings, which doesn’t list it.) Like any other font, you’ll be able to adjust the size and color and other attributes, including boldface italics.
 Mark Hachman / IDG
If you see your font within the font list of a Windows application, you’ve successfully created a font within Microsoft Font Maker.
Font Maker’s not an essential part of Windows; it’s one of those odd fusions of creativity and productivity that Microsoft seems enamored with. But the next time your parents are papering the neighborhood with invitations to the local summer block party, encourage them to try Font Maker. It’s a great way of making documents uniquely theirs.


