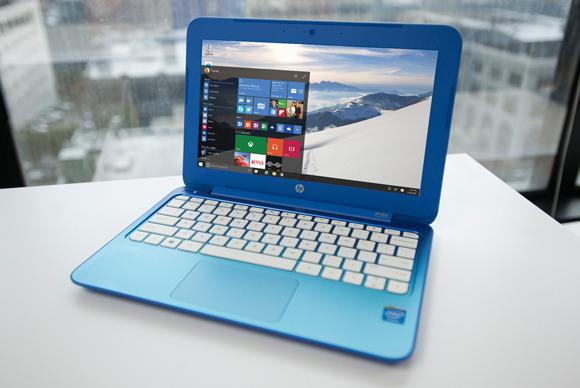
Download Windows Installation Media
The Reset feature and manufacturer-approved recovery tools may not help you get a clean, fresh Windows system. Reinstalling Windows from a Windows installation disc will.
If you’ve built your own PC and installed Windows on it, you should have a Windows disc lying around. If you don’t have a disc, you can download Windows 10 installation media from Microsoft or download a Windows 7 ISO file from Digital River. (UPDATE 2/25/15 Digital River no longer works; you can now download Windows 7 ISOs from Microsoft's Software Recovery website.) You can still get Windows 8.1 installation media from Microsoft, too.
You can find the product key currently in-use on your Windows PC with a tool like NirSoft’s ProduKey. Write it down—you may need it later.

Use Microsoft's Windows 10 download tool to put Windows 10's installation files on a USB drive or download an ISO.
The Windows 10 and 8.1 download tools will guide you through creating USB installation media. If you’ve downloaded a Windows 7 ISO file and you’d rather not burn it to disc, you can use Microsoft’s Windows 7 USB/DVD download tool to put that Windows system on a USB drive and install it from USB.

The Windows 7 USB/DVD download tool will ask what media you’re going to send your Windows image to.
Boot the Windows Installation Media
To perform a clean install of Windows, insert your installation media into your computer’s optical drive or USB port and reboot. Your computer should automatically boot from the removable media.
If it doesn’t, you may need to enter the computer’s BIOS and change its boot order or press a key during the boot process to access a boot menu and choose a boot device.
New Windows 10 and 8.1 PCs with UEFI firmware may allow you to choose a boot device in a different way. From within Windows, hold Shift and click the Restart option on the Settings charm panel or on the Start screen. You can also open the PC settings app, navigating to Update and recovery > Recovery and clicking Restart now under ‘Advanced startup.’
Your computer will reboot into the Advanced Startup Options menu. Select Use a device and choose the device you want to boot from. If your computer can’t boot Windows properly, don’t worry: It will boot directly to this menu so you can use these options to help fix things.
Reinstall Windows
Once the Windows installation media is booted, the Windows installer will take over and guide you through the process.
Pay particular attention to the disk partitioning options. You’ll want to replace your old Windows system without overwriting any other partitions or files you want to keep.
Download drivers for your PC
Modern versions of Windows have more built-in drivers than ever, so most of your PC’s hardware should work out of the box.
You can also grab the drivers and utilities you may need for your PC’s hardware from the manufacturer’s website.
Go to the manufacturer’s website and find the downloads page associated with your specific PC model. You can choose which files to download and install. During installation, be sure to un-check any boxes that will install any bloatware.
If you built your own PC, you’ll find these drivers and tools on the individual pages for each hardware component.
Create a custom refresh image (Windows 8 only)
Microsoft includes command-line tool with Windows 8 called recimg to create custom recovery images. This tool was removed from Windows 10, so it's only helpful if you're still using Windows 8 or 8.1.
This will save a lot of time and effort during any future refreshes.
First, make sure to uninstall bloatware and perform your favorite tweaks right after you get a new PC or reinstall Windows. Next, install your favorite software. Changes will be saved in the recovery image, so you don’t have to make them every time you refresh your PC.
Be sure to have a clean system before running recimg. Your custom recovery image won’t be squeaky clean if you’ve been using your Windows installation for a while, collecting temporary files and other garbage.
Microsoft tried to eliminate the need for all this fiddling with the new Refresh your PC feature, but the feature doesn’t go all the way. Sometimes, the best solution is to wipe everything and start with a clean slate.


